Every other pour-through method this site has walked through, Chemex, Kalita Wave, moka pot, gets a dedicated ratio and grind size guide with gram amounts and a worked recipe. The V60, the single most common pour-over cone in the world, has not, even though this site’s own coffee to water ratio chart already lists pour-over at a 1:16 ratio with 15g to 240g, 22g to 350g, and 30g to 480g worked examples, and the grind size chart already places a V60-style cone at 400 to 800 microns, described there as a “table salt” texture with a 2:30 to 4:00 total brew time. Those figures are correct, but neither page walks through the staged pour technique that actually gets a V60 into that time window, or reconciles where three separately published, well-regarded sources land on the exact ratio and grind. Hario Europe’s own published recipe from V60 Ambassador James Hoffmann, Stumptown Coffee Roasters’ brew guide, and Coffee Abacus’s V60-specific guide give this site enough to build that missing piece.
The ratio: 1:16 as the center, not the only number

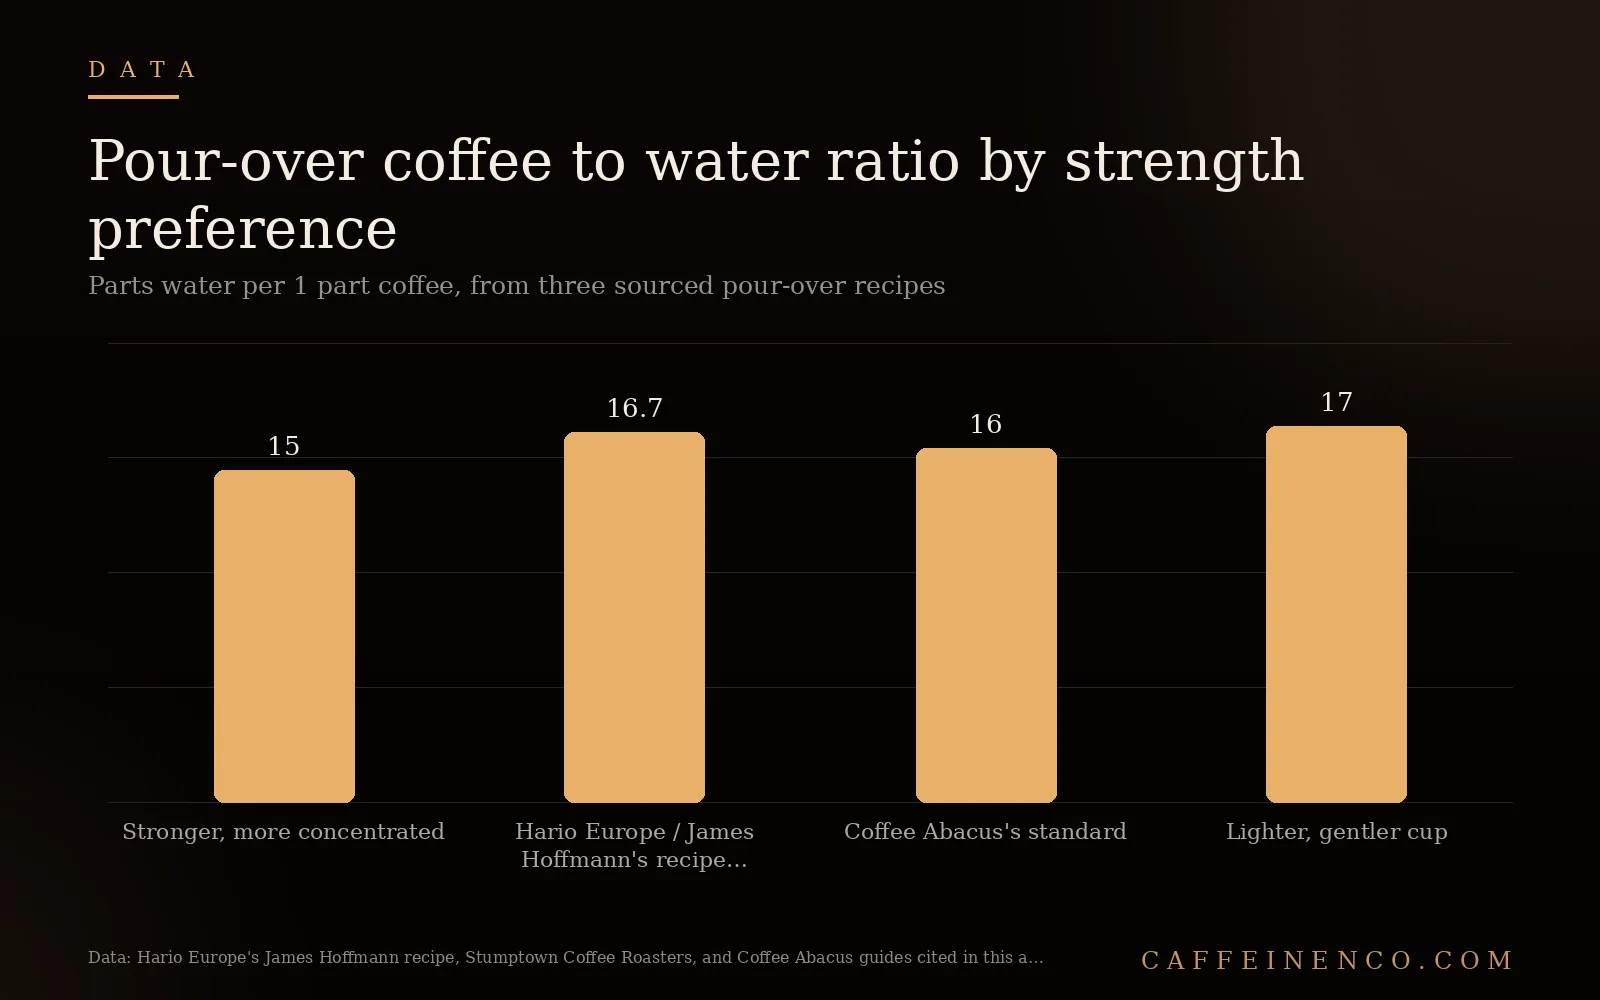
Hario Europe’s published recipe from James Hoffmann, one of the brand’s own named V60 Ambassadors, calls for 30 grams of coffee against 500 milliliters of water, a ratio that works out to roughly 1:16.7. Coffee Abacus states the same neighborhood directly as its default: 1 gram of coffee for every 16 grams of water, with the guide naming 1:15 as the stronger alternative and 1:17 as the lighter one depending on taste. Stumptown Coffee Roasters lands a notch lighter than both, recommending a general 1:17 ratio by weight for pour-over as a starting point to adjust from; the brand’s own site pairs that ratio with a 42-gram-to-700-gram worked example, but that specific figure is illustrated there for a Chemex, not a V60, so it is left out of the comparison below.
None of these three actually disagree in any meaningful way. They describe the same narrow band, 1:16 to 1:17, from three different starting points: a specialty roaster’s general pour-over guidance, a brand-published creator recipe, and a V60-specific brewing guide. That band also matches this site’s own ratio chart exactly, which already places pour-over at 1:16 and separately notes in its own FAQ that “pour-over commonly sits at 1:16 to 1:17.”
Ratio by strength preference
| Style | Ratio (coffee : water) | Source |
|---|---|---|
| Stronger, more concentrated | 1:15 | Coffee Abacus’s named alternative for a bolder cup |
| Hario Europe / James Hoffmann’s recipe | 1:16.7 (30g : 500mL) | Published directly on Hario Europe’s own site |
| Coffee Abacus’s standard | 1:16 | The guide’s stated default starting point |
| Lighter, gentler cup | 1:17 | Stumptown’s general pour-over guidance, and Coffee Abacus’s own named lighter alternative |
If you only remember one number, make it 1:16: it sits at the center of all three sourced recipes, and it is the same figure this site’s own ratio chart already uses for pour-over. Treat 1:15 and 1:17 as the two directions to move in from there, stronger or lighter, rather than as competing “correct” answers.
The grind: medium-fine, the texture of table salt
All three sourced guides describe the same grind in close to identical language. Stumptown states plainly that “a medium-fine grind works best for most pour over methods.” Coffee Abacus is even more specific, calling for a “medium-fine grind, roughly the texture of table salt.” Hario Europe’s James Hoffmann recipe describes the target as a “fine-medium” grind, the same territory described from the other direction.
That three-way agreement matches what this site’s own grind size chart already documents for a pour-over cone: 400 to 800 microns, described there with the identical “table salt” comparison the sourced guides above independently reach for. It is worth noting that this exact range sits distinctly finer than a Chemex grind on this site’s Chemex ratio and grind size guide, a difference driven entirely by the filter: a V60’s thin paper filter drains fast enough to need a finer grind for adequate contact time, while a Chemex’s much thicker filter already slows the water down on its own, so a matching fine grind there would clog and stall.
Grind size is also the main lever for fixing a pour-over that runs too fast or too slow. Both Stumptown and Coffee Abacus give the same troubleshooting logic in different words: if the coffee tastes weak or sour, or the total brew time runs under the target window, grind finer next time. If it tastes bitter, or the brew crawls past the top of the window, grind coarser. This site’s own pour-over troubleshooting guide covers the mechanical side of a full stall in more depth, water channeling, a clogged filter, stale beans, but grind size is the first and most common adjustment either way.
A burr grinder with a medium-fine setting gets you into this range consistently and repeatably, or you can browse the same category on Amazon. A blade grinder can get close on a good day, but its uneven particle spread makes it harder to hit the same narrow window pour after pour, which matters more for a V60’s fast, filter-driven drawdown than it does for a more forgiving immersion method.
Water temperature and the bloom
Water temperature clusters just as tightly across sources as grind and ratio do. Coffee Abacus calls for 200 to 205 degrees Fahrenheit. Stumptown recommends about 205 degrees Fahrenheit, described as “roughly 30 seconds off the boil.” Hario Europe’s James Hoffmann recipe runs slightly hotter still, at 97 degrees Celsius, which converts to about 206.6 degrees Fahrenheit. All three cluster at the hot end of the SCA’s own 195 to 205 degree Fahrenheit range for batch drip cited in this site’s ratio chart, with Coffee Abacus and Stumptown’s figures landing inside that range and Hario Europe’s 206.6 degrees running only about two degrees past its top.
The bloom, a short pre-wet of the grounds before the main pour, follows the same pattern of agreement. Stumptown instructs pouring “about twice the amount of water to coffee and stir gently,” with the bloom itself taking “between 30-45 seconds.” Coffee Abacus gives the identical structure: “twice the weight of your coffee” in water, followed by a wait of “30-45 seconds for the coffee to degas.” Hario Europe’s recipe is the most specific of the three: for a 30-gram dose, bloom with exactly 60 milliliters of water, precisely double the coffee weight, and wait up to 45 seconds. The bloom exists to let trapped carbon dioxide escape freshly roasted coffee evenly before the main pour begins, and a visibly bubbling, evenly saturated bloom is one of the more reliable signs that a bag of beans is actually fresh, not just recently opened.
Worked example: the staged pour, start to finish
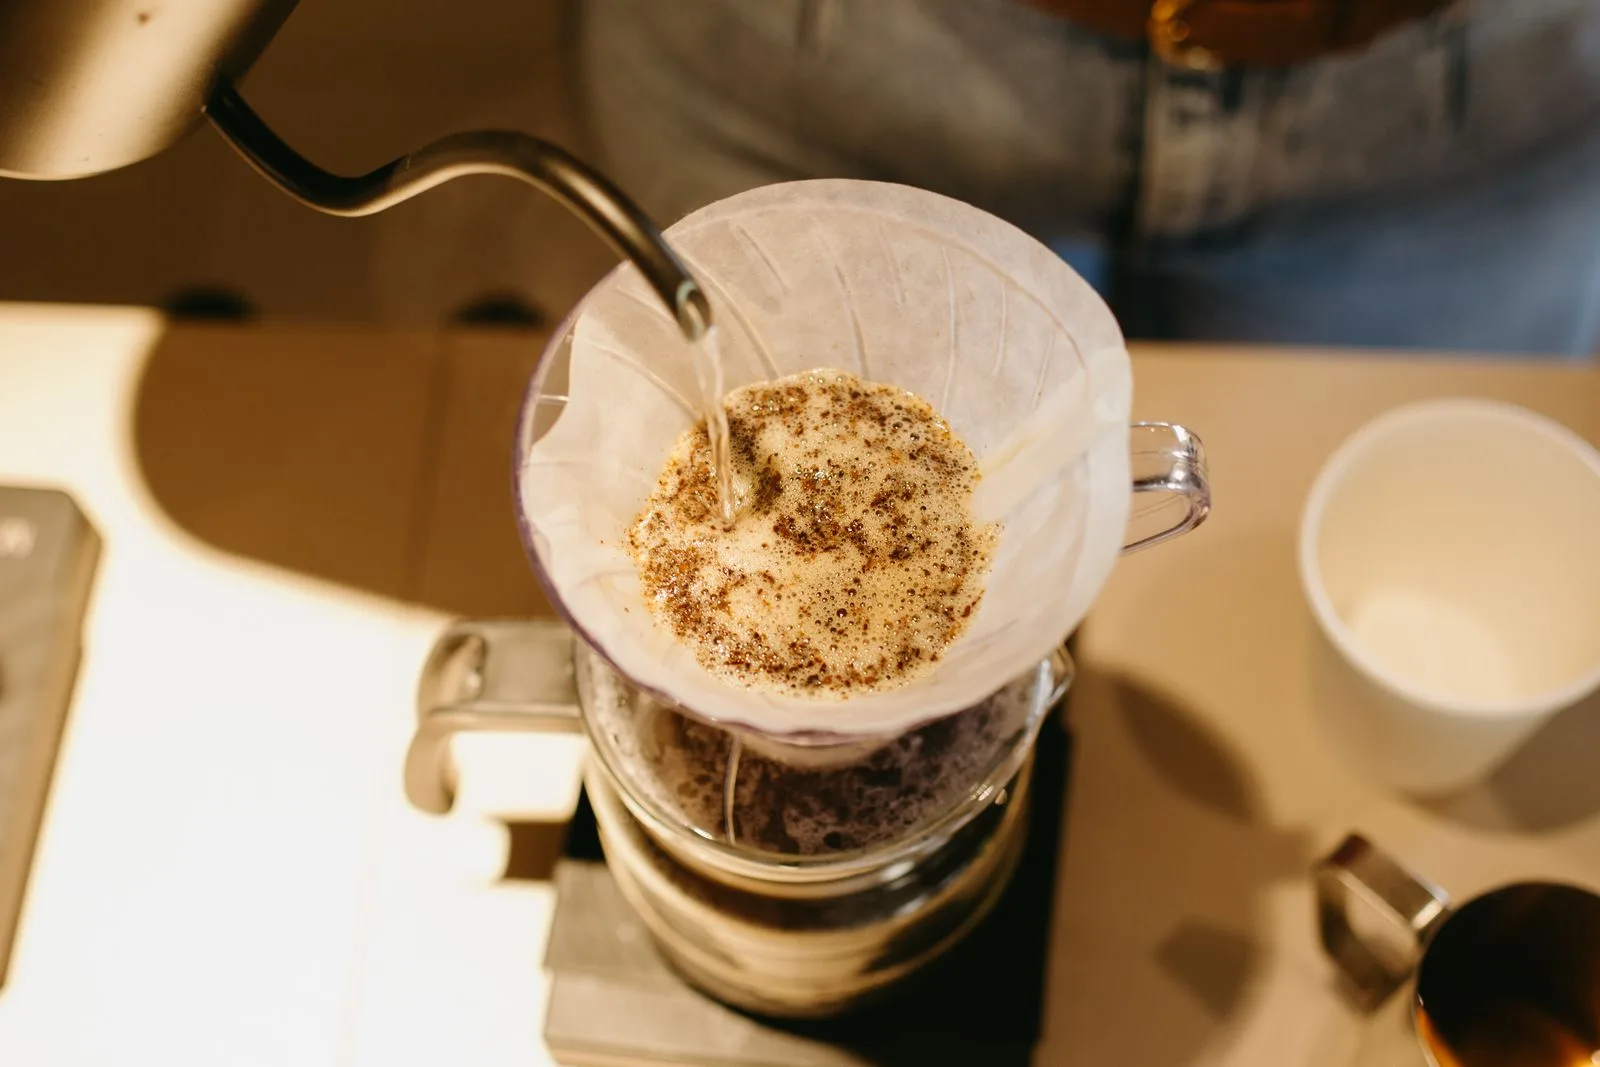
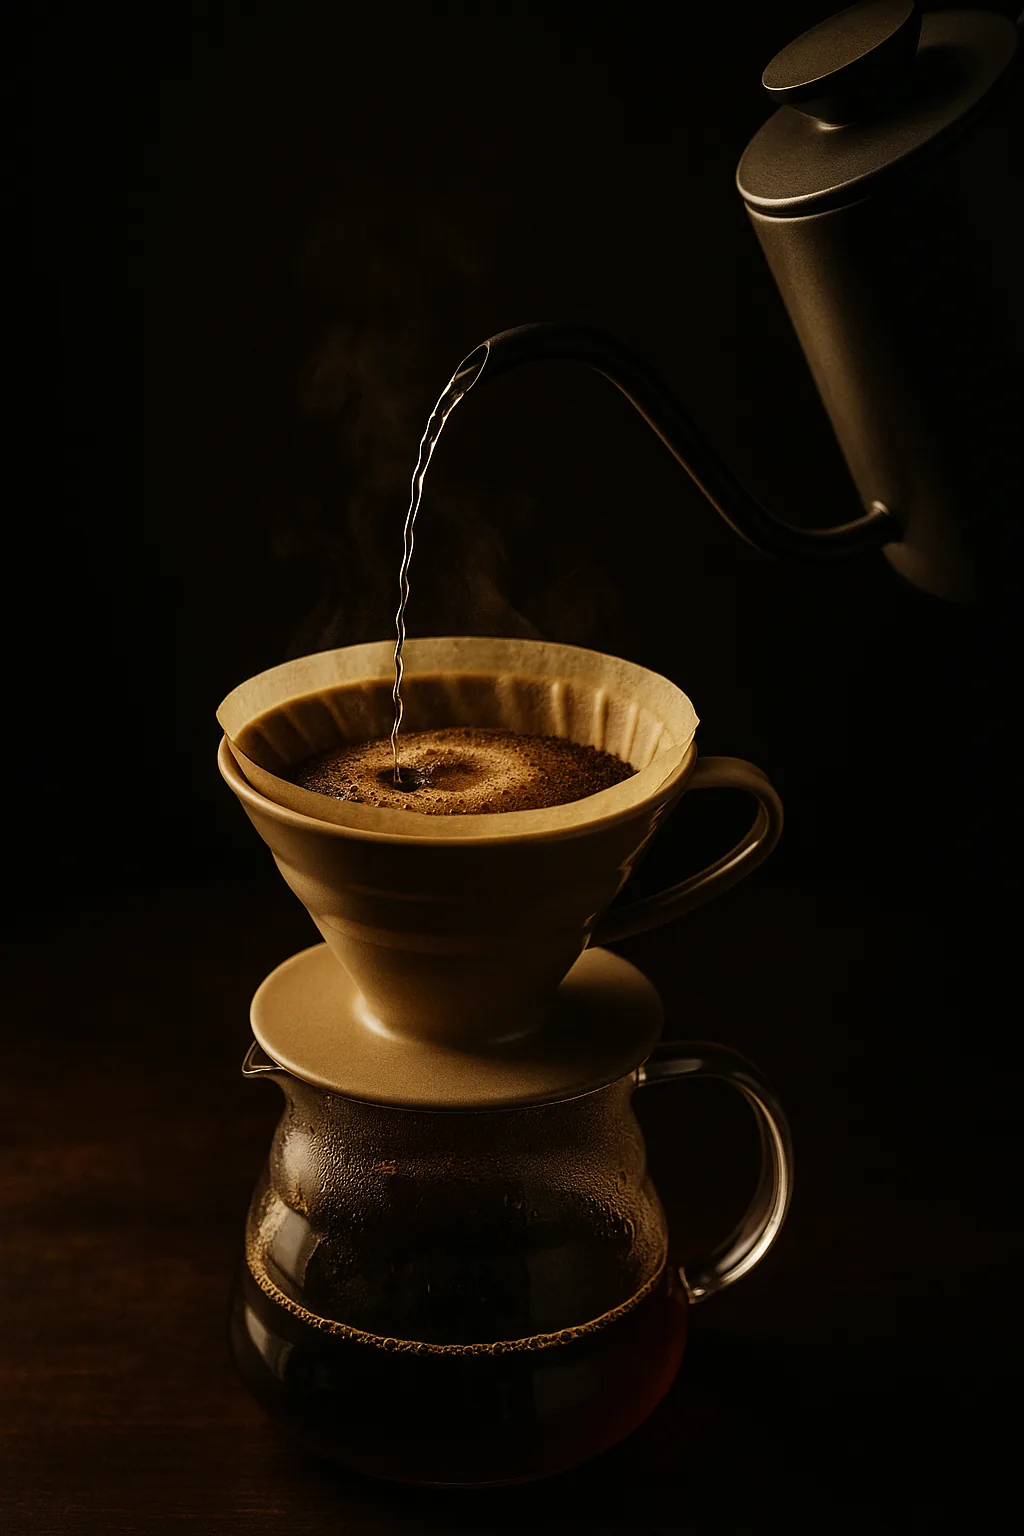
This is the piece neither this site’s ratio chart nor its grind chart walks through: the actual pour schedule that gets a V60 from dry grounds to a finished cup inside the 2:30 to 4:00 window the grind chart already names. This example follows Hario Europe’s published James Hoffmann recipe at a 30-gram dose, scaled to the site’s 1:16 default.
- Rinse the filter and preheat. Pour hot water through the paper filter and into the dripper and serving vessel, then discard it. This removes any papery taste and warms the ceramic or glass so it does not pull heat from the brew.
- Grind and dose. Grind 30 grams of coffee to a medium-fine, table-salt texture, matching all three sourced guides. Add it to the rinsed filter and settle the bed with a light shake so the surface sits level.
- Bloom with 60 grams of water. Pour roughly twice the coffee’s weight in water, per Stumptown and Coffee Abacus’s matching instructions, starting in the center and spiraling outward just enough to saturate every ground. Swirl the dripper gently to knock down any dry clumps.
- Wait 30 to 45 seconds. Watch for the bed to bubble and rise as trapped gas escapes. A flat, non-bubbling bloom on fresh-looking beans is a sign they are staler than they look.
- Pour to 60 percent of total water within the next 30 seconds. For a 500-gram total, that means reaching about 300 grams on the scale, pouring in slow, steady spirals, per Stumptown’s own instruction to “pour in slow and steady spirals to keep things even.”
- Slow down and finish the pour. Pour more gently for the remaining 40 percent, reaching the full 500 grams within about another 30 seconds of pouring.
- Stir and swirl to flatten the bed. Hario Europe’s recipe calls for a small stir in one direction, then the other, followed by a final swirl, which settles the grounds into an even bed for a consistent final drawdown.
- Let it drain. Total time from the start of the bloom to the last drip through the cone should land inside 2:30 to 4:00 per this site’s own grind size chart, though this site’s pour-over troubleshooting guide narrows that to 2:30 to 3:30 for this exact 30-gram-to-500-gram recipe. Treat 2:30 to 3:30 as the tighter target for this specific recipe, and 4:00 as the outer edge before it is worth troubleshooting. A finished time well outside that window points back to grind size before anything else.
A gooseneck kettle makes the staged, spiral pours in steps 3, 5, and 6 dramatically easier to control than a standard kettle’s wide spout, or you can browse the same category on Amazon. A regular kettle can still produce a good cup, but a wide, uncontrolled stream makes it harder to hold the pour rate steady through the 30-second windows above.
How pour-over’s ratio compares to other methods on this site
At 1:16 to 1:17, a V60 pour-over sits close to the SCA’s own 1:18 golden-ratio centerpoint for batch drip, documented in this site’s ratio chart, and lands at essentially the same stated ratio as the Kalita Wave’s own 1:16 figure. It overlaps the lighter end of French press’s much wider 1:12 to 1:17 immersion range but is meaningfully more dilute than French press’s tighter, stronger 1:12 end, and sits close to drip coffee’s 1:15 to 1:18 range, which makes sense since both are filter methods pulling water through a single bed of grounds rather than steeping.
The grind tells a sharper story than the ratio does. A V60’s 400 to 800 micron, table-salt grind is distinctly finer than a Chemex’s grind, which needs to run coarser specifically to compensate for the Chemex’s much thicker proprietary filter paper. It is also finer than a Kalita Wave’s medium to medium-fine setting, since the Kalita’s flat bottom and three small holes create a more even, less finicky water flow than the V60’s single large hole and spiral ridges, which lets the Kalita tolerate a slightly coarser grind without stalling.
Common mistakes
Pouring too fast in one continuous stream, rather than in the staged bloom-then-two-phase pattern all three sourced guides describe, is the most common mistake, and it produces uneven extraction because the water channels straight through the loosest part of the bed instead of passing evenly through all of it. Skipping the bloom entirely is the second: without those 30 to 45 seconds for trapped gas to escape, the main pour pushes water through a bed that is still degassing, which disrupts even saturation for the rest of the brew. Judging grind size only by taste rather than by total brew time is the third, since a cup that tastes merely “okay” can still be running well outside the 2:30 to 4:00 window this site’s grind chart names, and total time is a more reliable, repeatable signal to adjust against than taste alone on any single cup.
Common questions
What is the best coffee to water ratio for a V60 pour-over? 1:16 as a starting point, per Coffee Abacus’s stated default and the figure this site’s own coffee to water ratio chart already uses for pour-over. Hario Europe’s published James Hoffmann recipe runs close at roughly 1:16.7, and Stumptown’s own general pour-over guidance sits at 1:17 for a lighter cup.
What grind size should I use for a V60? Medium-fine, roughly the texture of table salt, per matching descriptions from Stumptown and Coffee Abacus. This site’s own grind size chart places that at 400 to 800 microns, finer than a Chemex or Kalita Wave grind.
How long should a pour-over take to brew? About 2:30 to 4:00 total, from the start of the bloom to the last drip, per this site’s own grind size chart, though this site’s pour-over troubleshooting guide narrows that to 2:30 to 3:30 for this exact 30-gram-to-500-gram recipe. Treat 2:30 to 3:30 as the tighter target for that recipe specifically, and 4:00 as the outer edge before it is worth troubleshooting. A brew finishing faster than 2:30 usually means the grind is too coarse; a brew running past 4:00 usually means it is too fine.
Do I need a gooseneck kettle for pour-over? Not strictly, but it makes the staged, spiral pours described in Stumptown’s and Hario Europe’s recipes far easier to control. A standard kettle’s wide spout makes it harder to hold a steady, slow pour rate through the 30-second windows both guides specify.
Why does my pour-over taste weak or sour? Most often an under-extraction problem: the grind is too coarse, the water is not hot enough, or the brew finished faster than the 2:30 to 4:00 window this site’s grind chart names. This site’s full pour-over troubleshooting guide covers the slow-draining side of the same problem in more depth.
Is a V60 the same ratio as a Chemex? Close, but not identical in practice. Both sit around 1:16, per this site’s ratio chart, but a Chemex needs a coarser grind to work with its thicker filter, covered in this site’s Chemex ratio and grind size guide, while a V60 runs finer to compensate for its thinner, faster-draining paper.
For more sourced brewing breakdowns like this one, delivered weekly, subscribe to The Sunday Pour.