Every other brewing method this site has walked through, AeroPress, Chemex, Kalita Wave, moka pot, cold brew, French press, gets a dedicated ratio and grind size guide with a gram amount and a worked recipe. Percolator has not, even though this site’s own grind size chart already lists it, at 1,000 to 1,600 microns, and flags it as “the least standardised of all twelve methods” the chart covers. That gap matters more for percolator than for almost any other method on this site, because a percolator does not brew once and stop the way a pour-over or an AeroPress does. It recirculates the same water through the same grounds for the entire brew time, which means the two variables every other method treats as forgiving, grind size and heat, are the two variables a percolator punishes hardest for getting wrong. Two independently published guides, from Taste of Home and Home Grounds, plus a dedicated troubleshooting source in Complete Home Barista, give this site enough to build the same depth of guide for percolator that the other methods already have.
The ratio: about a tablespoon of coarse grounds per cup
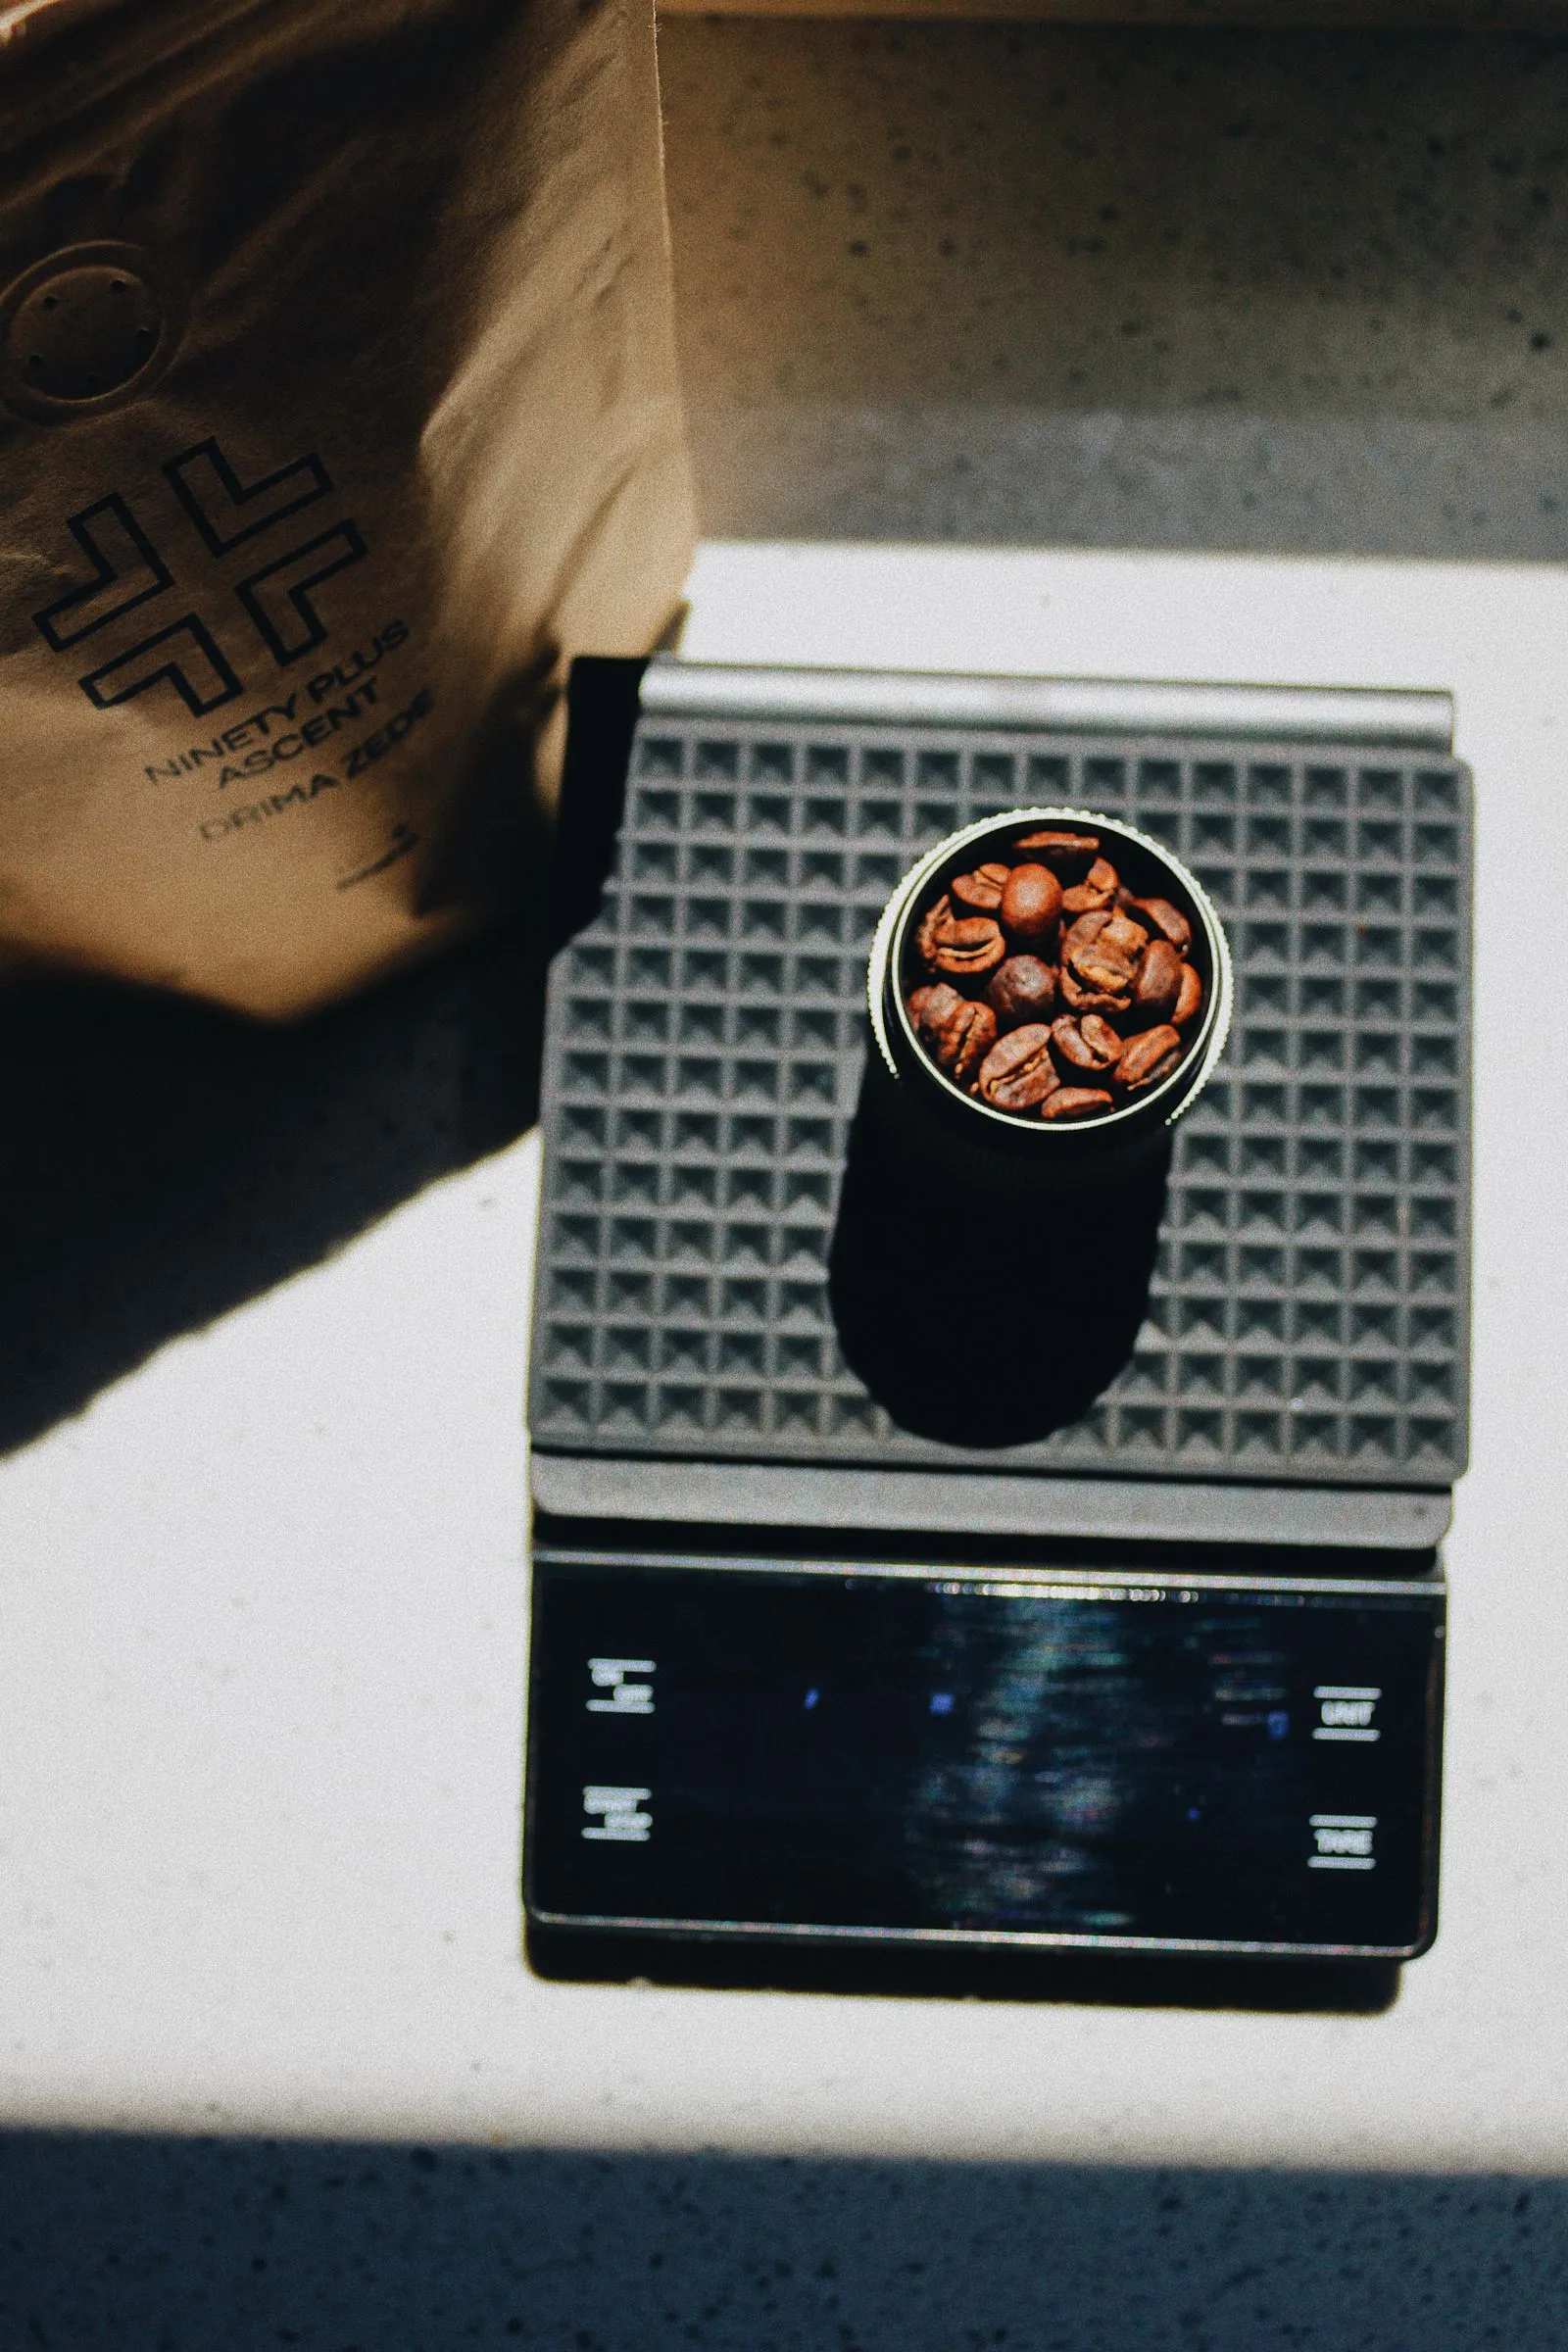
Two independently published sources converge on almost the same number here, which is a stronger agreement than percolator usually gets. Taste of Home gives a straightforward split by strength: “1 tablespoon of grounds per cup of water” for a strong cup, or “1 teaspoon per cup of water” for a weaker one. Home Grounds states the same relationship in weight rather than volume, “15 grams of coffee per 250 mL of water, or approximately 1 tablespoon of ground coffee per cup,” which works out to roughly a 1:16.7 ratio by weight, close enough to Taste of Home’s tablespoon-per-cup figure that the two sources are describing the same practical measurement, not two competing standards.
That lands percolator in familiar territory rather than some exotic outlier: this site’s own drip coffee ratio guide documents a 1:15 to 1:18 range for standard drip brewing, and a roughly 1:16 to 1:17 percolator ratio sits squarely inside that same band. The practical difference between percolator and drip is not how much coffee goes in relative to water, it is what happens to that coffee once the brew starts, which the next two sections cover.
| Style | Ratio | Result |
|---|---|---|
| Weaker cup | 1 teaspoon per cup of water | Lighter body, per Taste of Home, still uses a full coarse grind |
| Standard, strong cup | 1 tablespoon (about 15g) per cup (250mL) of water | The converged figure from both Taste of Home and Home Grounds, roughly a 1:16 to 1:17 ratio |
| Stronger cup | Slightly more than 1 tablespoon per cup | Push the amount up before extending the brew time, since a longer percolation cycle risks the bitterness covered below |
If you only remember one number, make it a level tablespoon of coarse grounds per cup of water. It is the figure both sourced guides converge on independently, and it is the safest starting point before you adjust for your own taste.
The grind: coarse enough that the site’s own chart calls it the least standardized method it covers
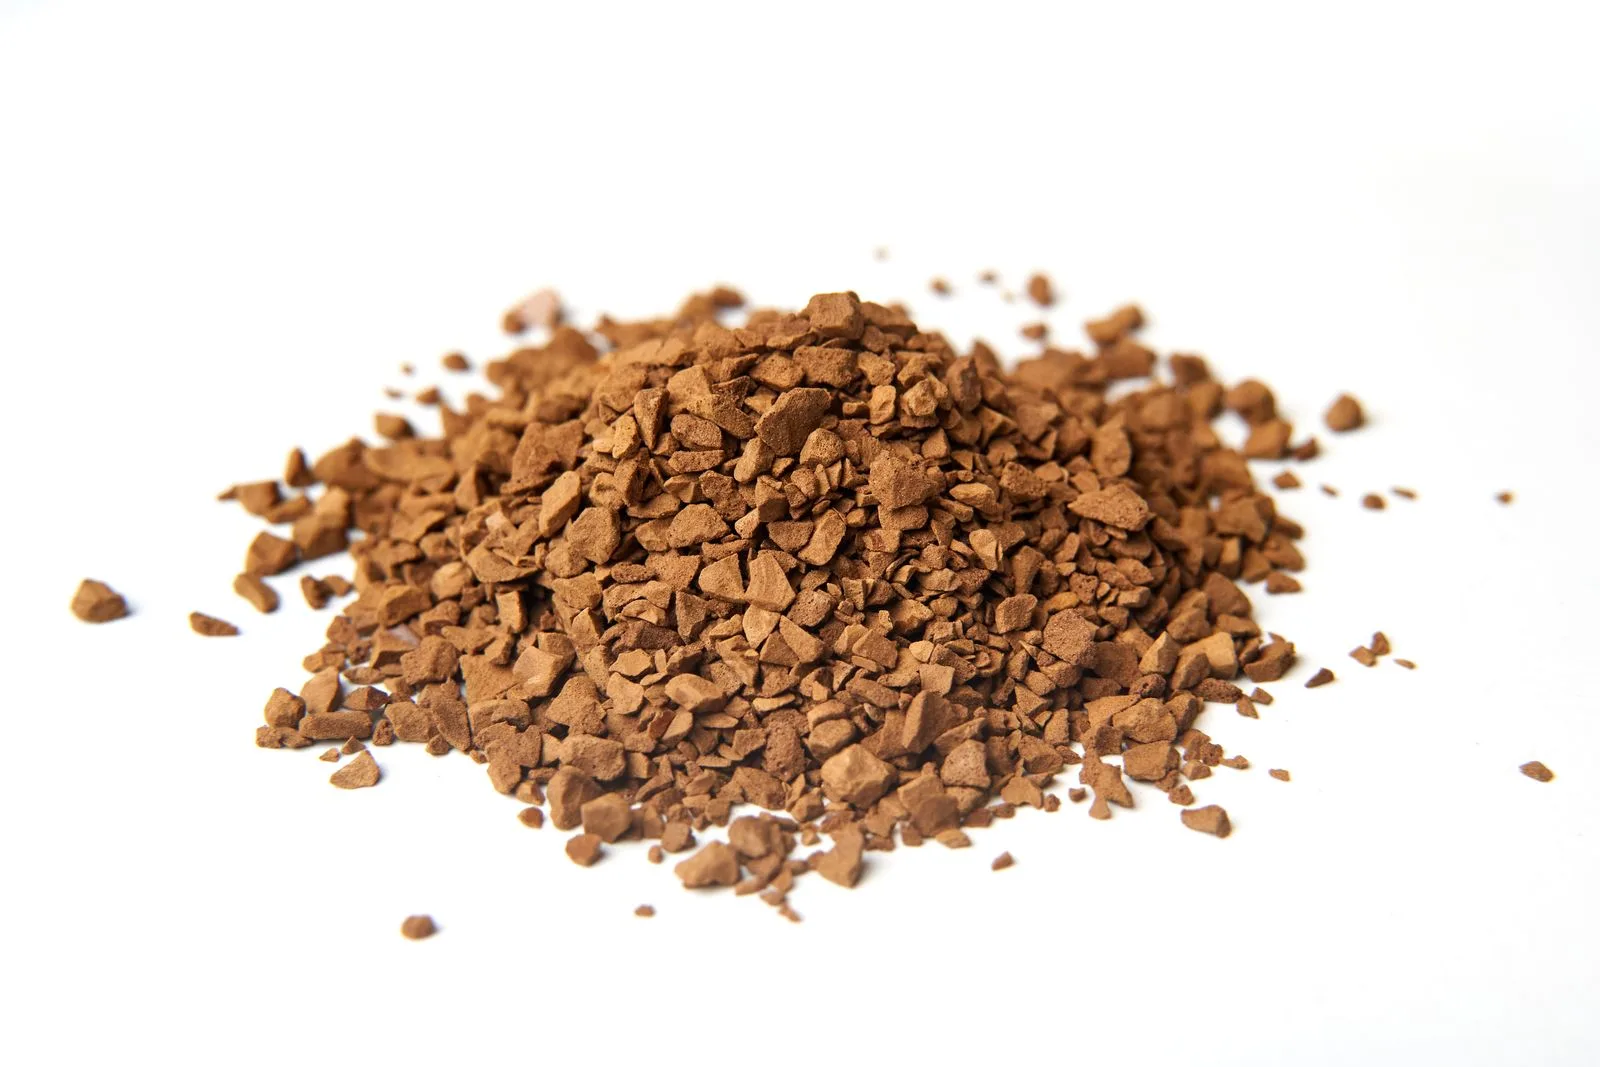
Both sourced guides agree on the direction even where they differ on exact wording. Taste of Home calls simply for “coarsely ground coffee,” noting the practical reason: a finer grind falls through the metal basket instead of staying put. Home Grounds is more specific about texture, “a coarse grind, similar to French press,” while cautioning against going so coarse that extraction suffers, since a percolator’s metal basket, unlike a paper filter, needs grounds large enough to stay contained but still fine enough to extract properly during the brew.
This site’s own grind size chart already places percolator at 1,000 to 1,600 microns, described there as “coarse sea salt to rock salt,” and flags percolator as the method with the least agreement across published charts of any of the twelve it covers, since the method “barely appears on major grind charts at all.” That wide, loosely defined range is not a gap in this guide, it reflects a genuine gap in the published data everywhere else, and the qualitative texture description, coarse sea salt at the fine end, rock salt at the coarse end, is the more reliable guide than any single micron figure for a method this under-measured.
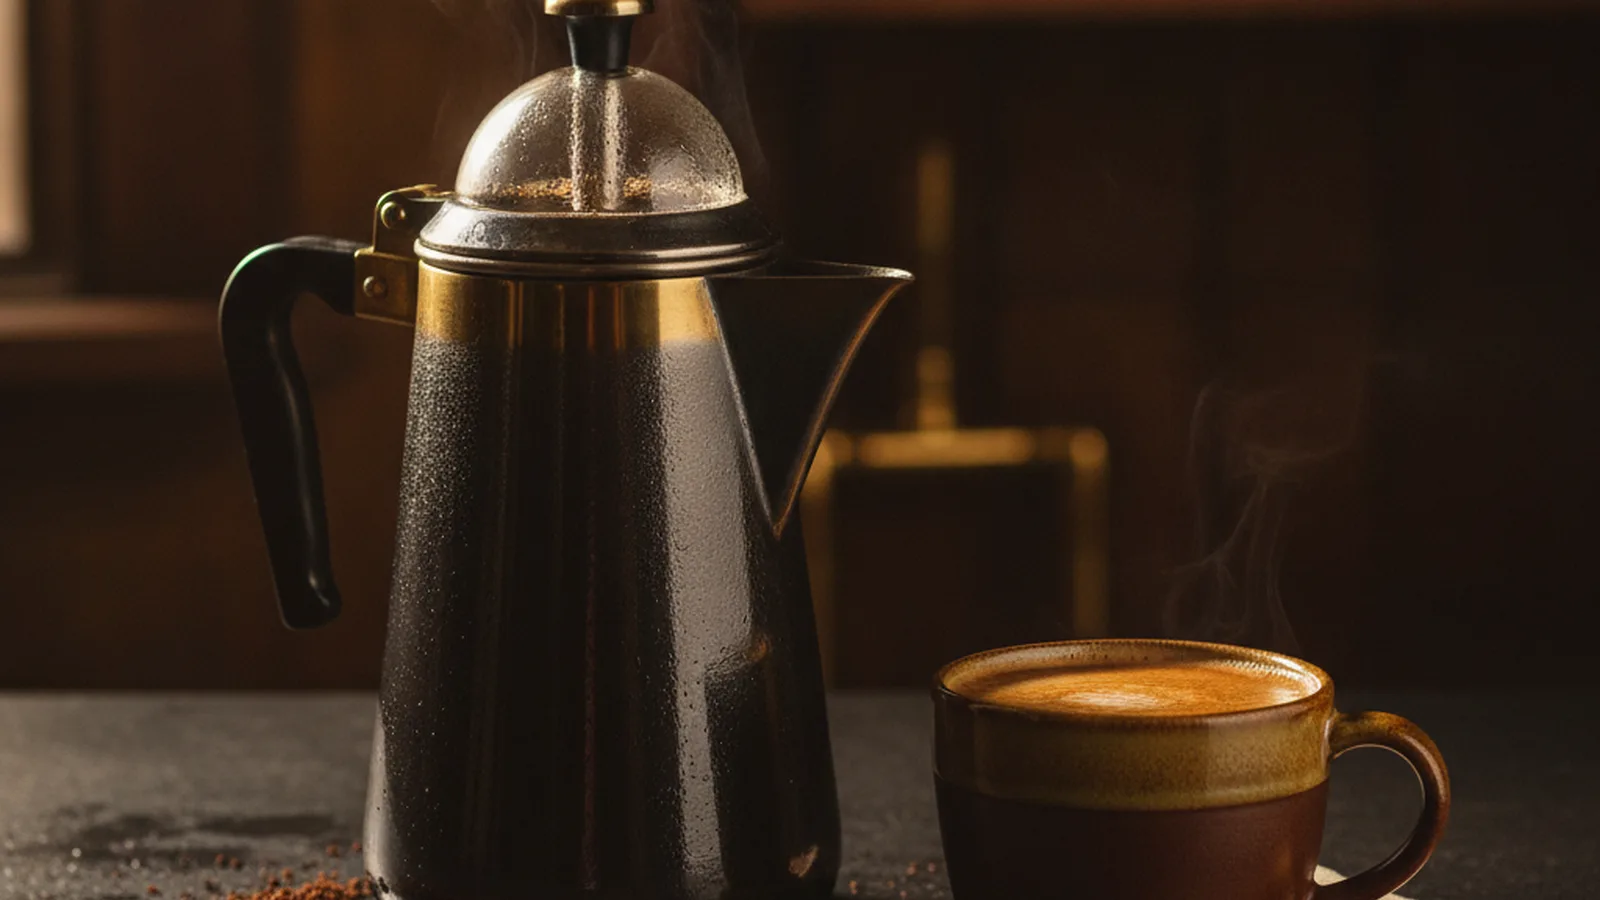
The reason coarse matters more here than for most methods is the same reason the ratio held no surprises: it is what happens after the water starts moving. A percolator does not pass water through the grounds once. It recirculates the same batch of water up through a vertical tube and back down over the same grounds repeatedly for the entire brew cycle, and a grind too fine to survive that repeated pass over-extracts fast. A burr grinder with a coarse setting gets you into that 1,000 to 1,600 micron range consistently, or you can browse the same category on Amazon.
Heat and time: the part that actually determines whether it turns bitter
Grind and ratio set percolator up correctly; heat control is what keeps it that way for the full brew. Complete Home Barista is direct about the mechanism behind percolator’s reputation for bitter coffee: “harshness often comes from pushing extraction too far,” and the fix is not a different grind or a different ratio, it is “medium-coarse grind, lower heat, and stop the brew before repeated cycling turns the coffee harsh.” The site’s own troubleshooting framing matters here too: rather than changing grind, ratio, and heat all at once when a cup comes out wrong, lock two of the three and adjust the third, tasting between attempts, so it is clear which variable actually caused the problem.
Taste of Home and Home Grounds both describe the same practical heat target, just from slightly different angles. Taste of Home’s instruction is to heat slowly over medium heat, then once percolating begins, reduce the heat so the water stays hot without simmering or boiling: “you shouldn’t be able to see any steam coming out of the percolator.” Home Grounds gives the same target a visual cue instead of a steam check: optimal percolation shows “one bubble every couple of seconds,” a steady stream of bubbles means the water is too hot, and no bubbles at all means it has dropped too cool. Both descriptions are pointing at the same narrow heat window, gently and visibly perking rather than boiling hard.
Time follows the same logic as heat. Taste of Home puts the brew window at 7 to 10 minutes depending on desired strength and recommends setting a timer, since it is “easy to over-brew” a percolator if you walk away from it. Home Grounds gives a slightly wider 5 to 10 minute window and calls attention to the same risk from the opposite direction, warning that “getting distracted” is one of the most common percolator mistakes, precisely because every extra minute of recirculation is extra time for the same grounds to get brewed again. A percolator genuinely is not a set-it-and-forget-it method the way a drip machine on a timer is; the batch keeps changing for as long as it stays on the heat.
A short history: why percolators earned a reputation for bad coffee in the first place
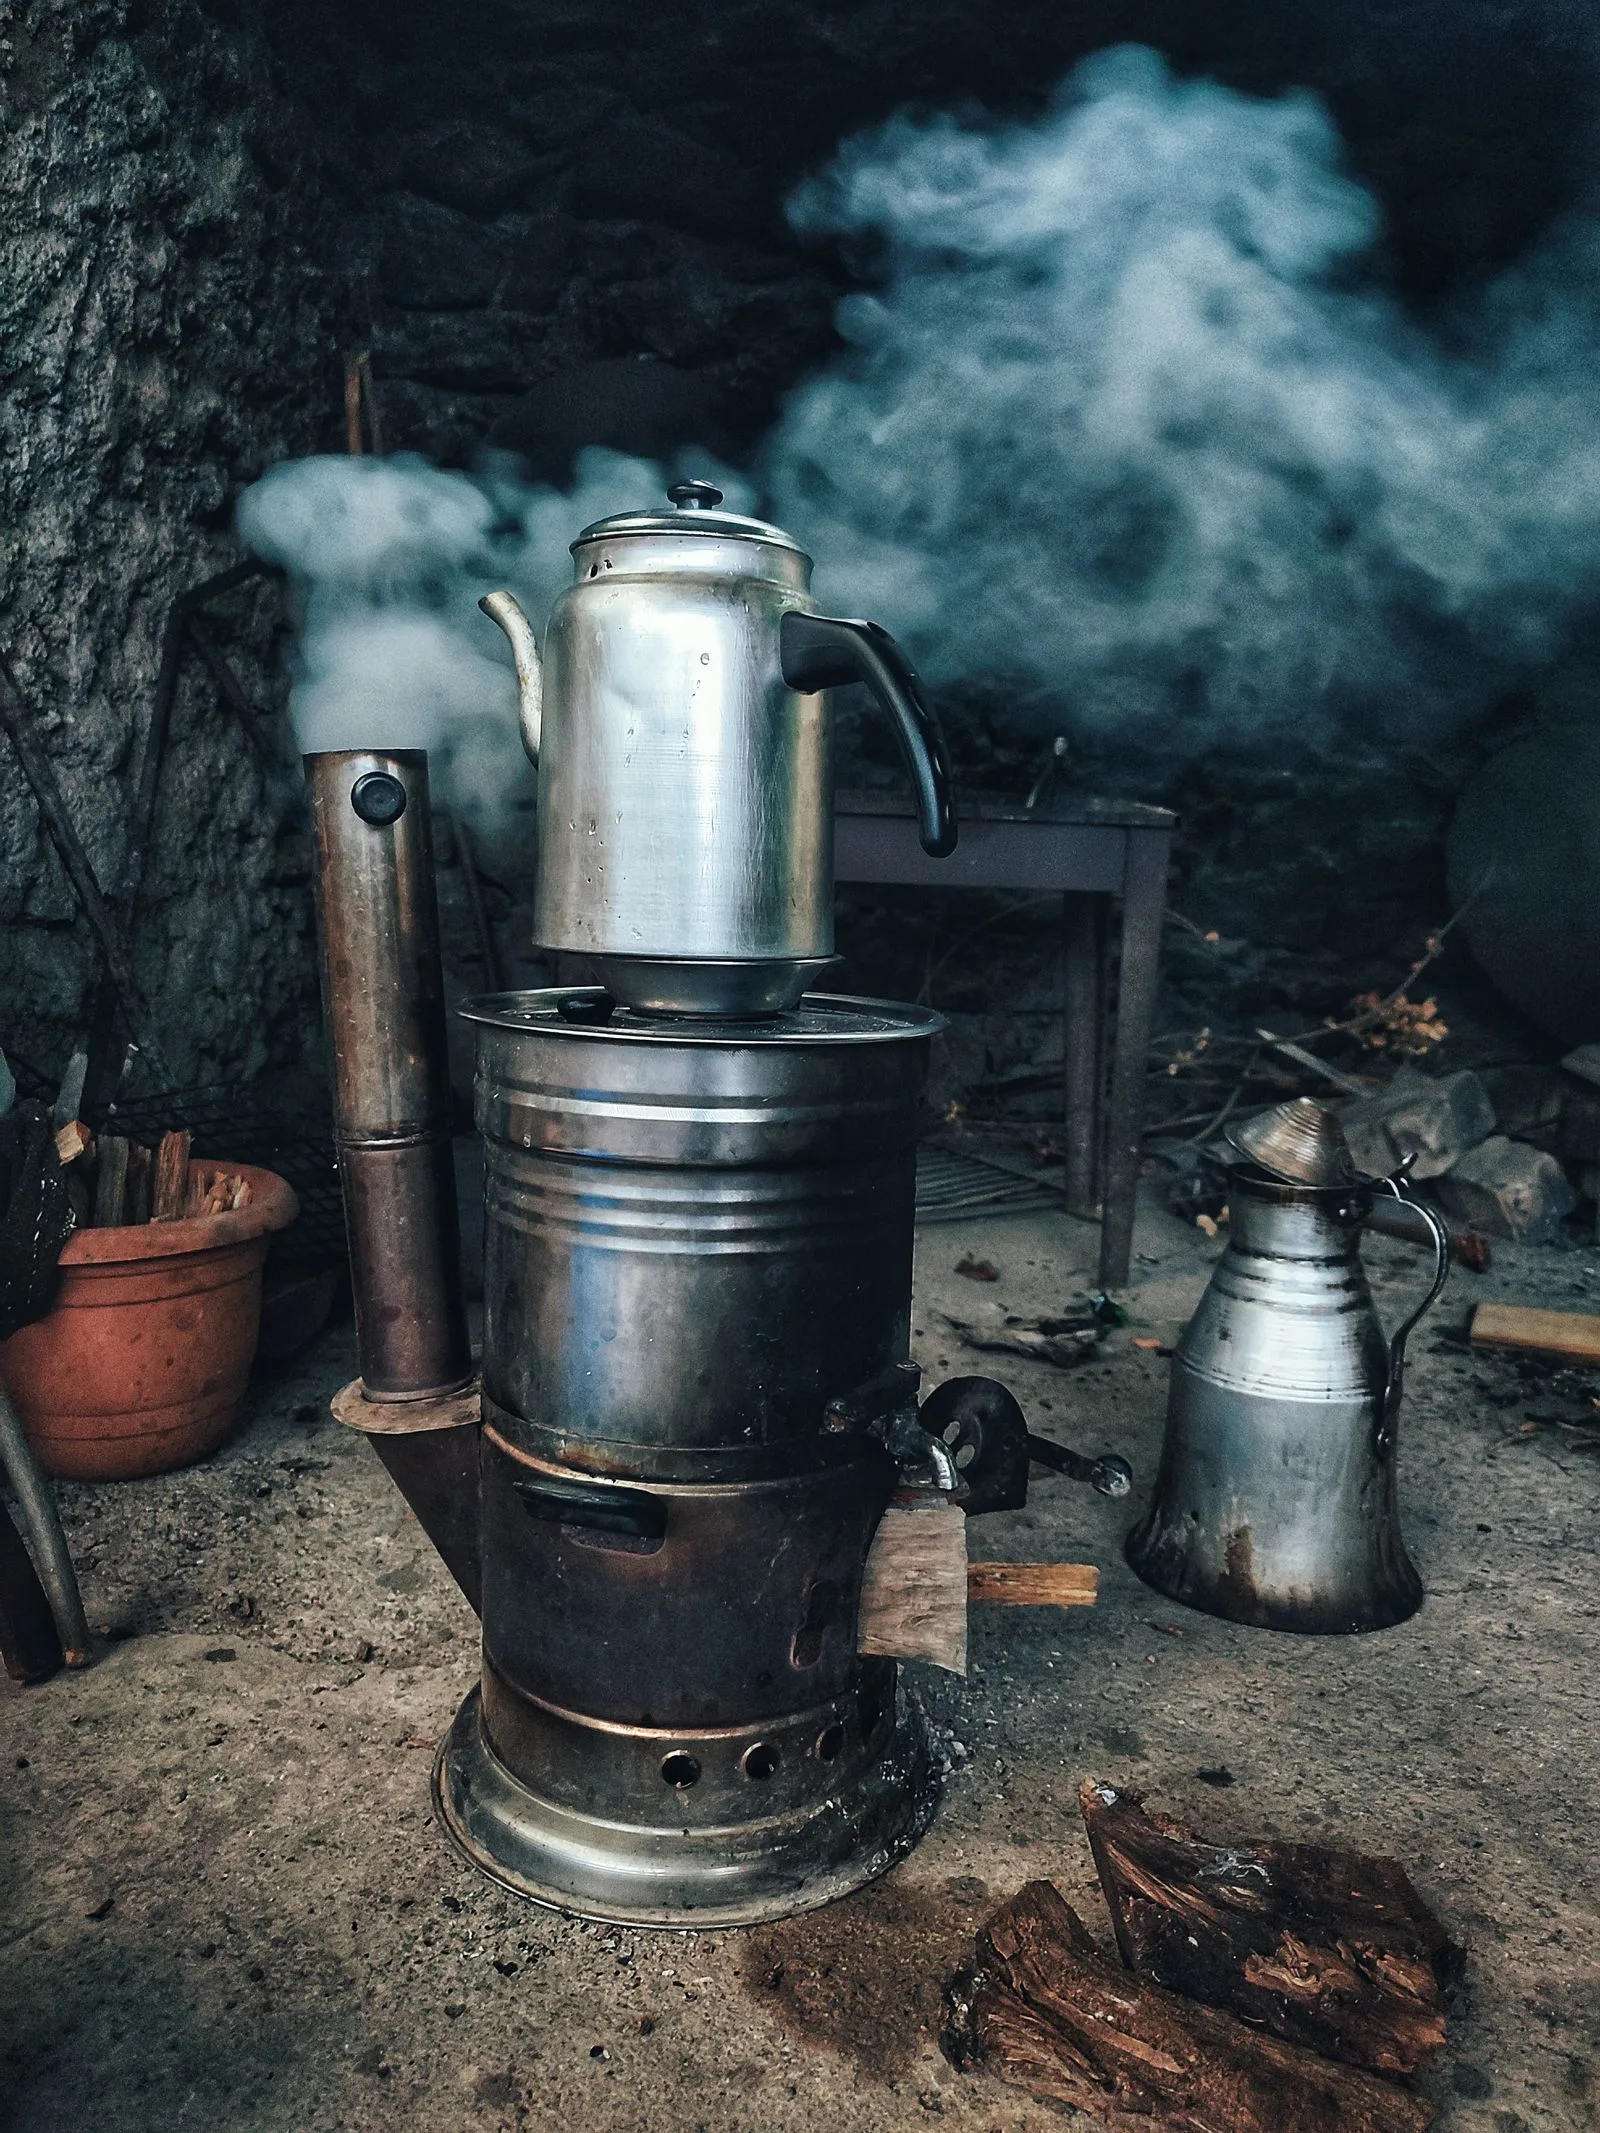
The recirculation mechanism that makes heat control so important is not a flaw added later, it is the entire design. Per Corner Coffee Store, an early version of a percolating coffee pot dates back to 1810 to 1814, credited to the American-born physicist Benjamin Thompson, though his design “lacked the crucial tube percolators are known for having” and is not considered a true percolator for that reason. The tube that defines the modern method arrived in the 1820s, when a Parisian tinsmith named Joseph Marie Laurens built what Corner Coffee Store calls “the first modern percolator,” adding “the important tube that allowed the boiling water to rise and create a continuous cycle.” The design most people would recognize today, a broad base, a central tube, and a suspended grounds basket, was patented decades later still, in 1889, by an Illinois farmer and photographer named Hanson Goodrich.
That century-plus of continuous recirculation by design is the reason percolators built a reputation for harsh, bitter coffee long before anyone was writing grind-size charts: a badly tended stovetop percolator with no heat control and no timer will over-extract almost by default, simply by doing exactly what it was built to do for too long. The fix was never a different tool, it was the same heat and time discipline covered in the section above, just applied consistently rather than left to chance the way a 19th-century stovetop pot with no dial or timer inevitably was.
Worked example: brewing your first pot
- Measure your ratio. For a standard 4-cup pot, that is roughly 4 tablespoons (about 60g) of coffee to 4 cups (about 1 liter) of water, using the converged tablespoon-per-cup figure from Taste of Home and Home Grounds. Scale up or down from there; the ratio holds regardless of pot size.
- Grind coarse. Aim for the texture of coarse sea salt to rock salt, per this site’s own grind size chart, distinctly coarser than a drip grind and close to a French press grind, per Home Grounds.
- Fill the base and set the basket. Add water to the lower chamber, place the stem inside, and set the grounds basket securely on top so water can flow through evenly rather than pooling to one side.
- Heat slowly. Start at medium heat until percolation begins, then drop to a level that keeps the water gently perking, per Home Grounds, roughly one bubble every couple of seconds, rather than a steady rolling boil.
- Set a timer for 7 to 10 minutes. Both sourced guides name this window; longer means stronger, but every extra minute is extra time for the same grounds to recirculate, so treat the timer as a hard stop rather than a suggestion.
- Pull it off the heat the moment it hits your target time. Complete Home Barista’s own advice is to “stop the brew before repeated cycling turns the coffee harsh,” which means erring early rather than late if you are unsure.
- Let it rest, then pour. A short rest lets grounds that made it past the basket settle to the bottom rather than ending up in the cup, per Taste of Home’s own guidance.
- If you are shopping for your first pot rather than reviving an old one, a stovetop model from 1st in Coffee’s coffee maker range covers the same basket-and-tube design this guide walks through, or you can browse the same category on Amazon.
How percolator’s ratio and grind compare to other methods on this site
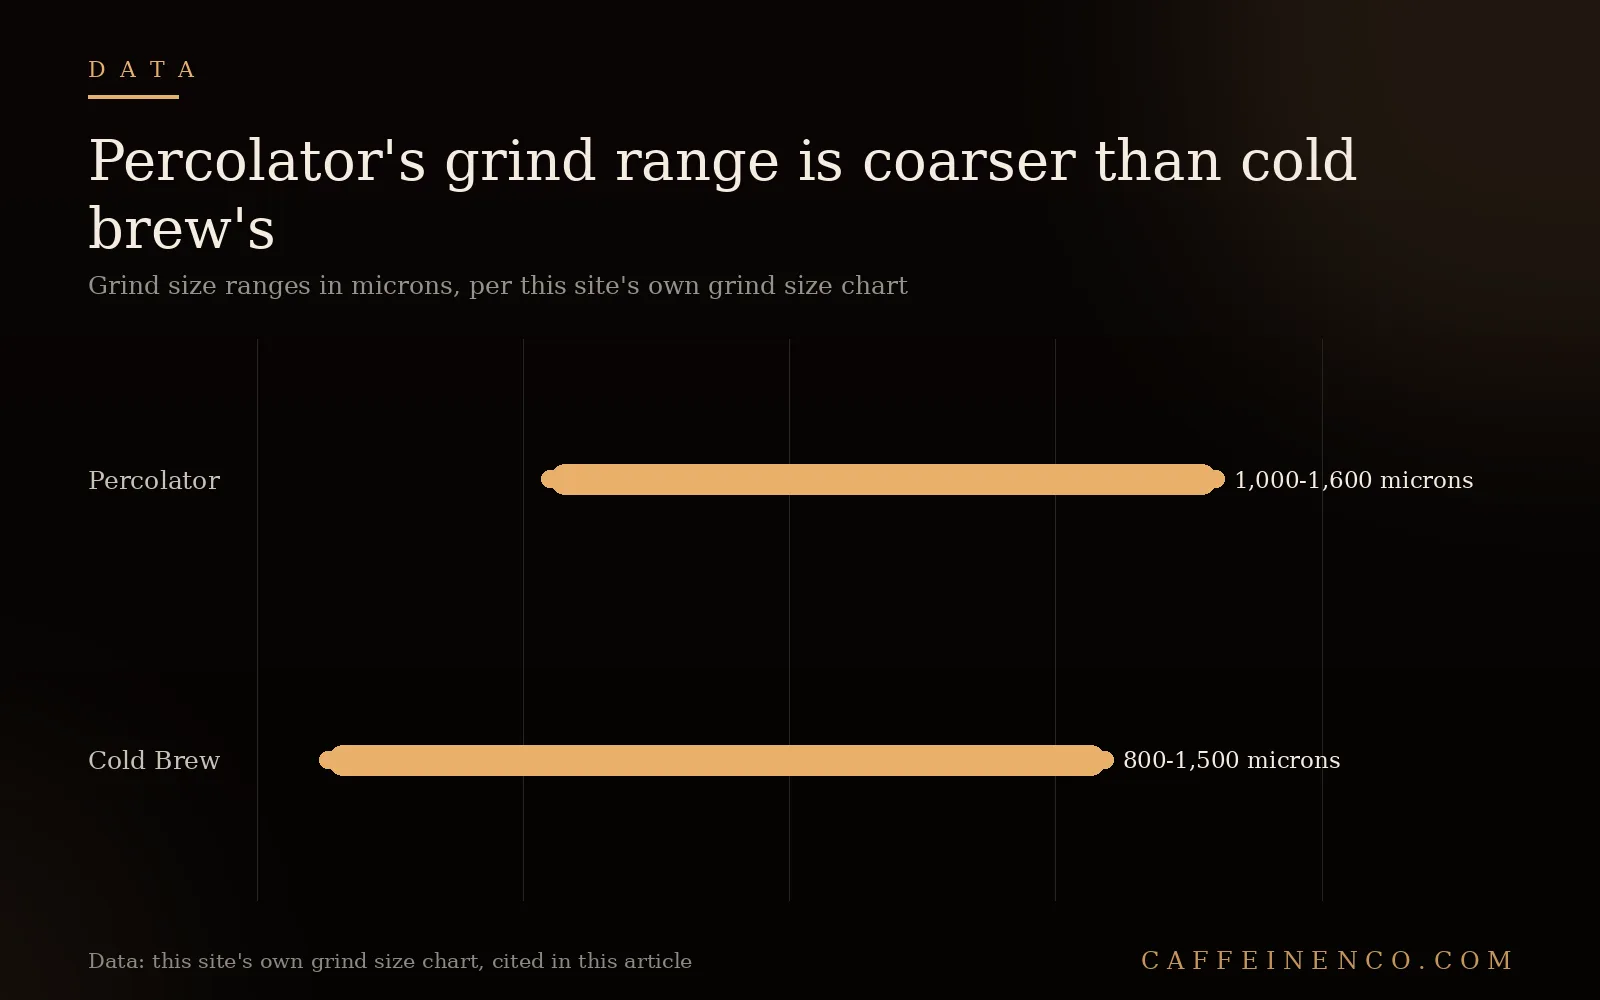
At roughly 1:16 to 1:17, percolator’s ratio sits close to drip coffee’s 1:15 to 1:18 range, which makes sense once you set the recirculation issue aside, both methods are meant to be drunk at a similar strength rather than diluted or sipped in small cups the way moka pot or Turkish coffee are. The grind tells a different story. At 1,000 to 1,600 microns, percolator sits at the coarse end of everything this site covers, coarser than French press and just past cold brew’s 800 to 1,500 micron range, the two methods closest to it in texture. That is not a coincidence: cold brew and percolator are the two methods on this site where the grounds sit in contact with water for the longest stretch, cold brew through an extended steep, percolator through repeated recirculation, and both need a coarser grind than a single fast pass would require to avoid over-extracting.
Common mistakes
Grinding too fine “to make it stronger” is the most common mistake, and it backfires specifically because of the recirculation mechanic: fine grounds that would extract cleanly in a single pour-over pass get pulled through the same water again and again in a percolator, and per Complete Home Barista’s own troubleshooting advice, that repeated cycling is exactly what pushes a cup from balanced into harsh. Treating the brew time as flexible is the second mistake; both Taste of Home and Home Grounds single out inattention as a direct cause of bitterness, since every extra minute past the 7-to-10-minute window is more recirculation, not a gentler extra step. Boiling the water hard instead of keeping it at a gentle perk is the third mistake; Home Grounds’ own bubble-cadence test, roughly one bubble every couple of seconds, is a more reliable signal than eyeballing the flame, and a steady stream of bubbles is already too hot. Changing grind, ratio, and heat all at once after a bad cup is the fourth mistake; Complete Home Barista’s own troubleshooting approach is to lock two variables and adjust only the third, since changing everything at once makes it impossible to tell which change actually fixed the problem.
Common questions
How much coffee do I put in a percolator? About 1 tablespoon (roughly 15g) of coarse grounds per cup (about 250mL) of water for a standard strong cup, per matching figures from Taste of Home and Home Grounds, which is roughly a 1:16 to 1:17 ratio, close to this site’s own drip coffee ratio guide. Use closer to a teaspoon per cup for a lighter brew.
What grind size is best for a percolator? Coarse, roughly the texture of coarse sea salt to rock salt, per this site’s own grind size chart, which places percolator at 1,000 to 1,600 microns. Home Grounds compares the texture directly to a French press grind. A grind fine enough to fall through the metal basket, or fine enough to over-extract across repeated recirculation cycles, is the main thing to avoid.
How long should I let a percolator brew? 7 to 10 minutes, per Taste of Home, though Home Grounds’ slightly wider 5 to 10 minute window reflects the same target: long enough to extract fully, short enough that repeated recirculation does not push the cup into bitterness. Set a timer rather than judging by eye.
Why does percolator coffee taste bitter? Almost always over-extraction from the method’s own recirculation mechanic. Complete Home Barista states the mechanism directly: harshness comes from pushing extraction too far, and the fix is a coarser grind, lower heat, and stopping the brew before extra cycling turns the coffee harsh, not a different bean or roast.
What heat setting should I use for a stovetop percolator? Medium heat to start, then reduced once percolation begins so the water stays at a gentle perk rather than a rolling boil. Home Grounds’ own test is roughly one bubble every couple of seconds; Taste of Home’s version of the same target is that you should not see steam coming out of the percolator once it settles into its brewing rhythm.
Is percolator coffee the same as drip coffee? Not mechanically, even though the two land in a similar ratio range. Drip coffee passes water through the grounds once; a percolator recirculates the same water through the same grounds for the entire brew, which is why percolator needs a noticeably coarser grind, 1,000 to 1,600 microns versus drip’s finer range, per this site’s own grind size chart, to avoid over-extracting across those repeated passes.
For more sourced brewing breakdowns like this one, delivered weekly, subscribe to The Sunday Pour.