Every brewing guide on the internet repeats the same two numbers: 195 to 205 degrees Fahrenheit. Fewer of them mention that the number you actually want depends on what is in your hopper. Two independently published guides, from Breville and Coffee Chronicler, agree on the headline range but diverge in a genuinely useful way once you ask where inside that range a given roast should sit, and one of them points to a competition where the world’s best AeroPress brewers ignore the range altogether. This page reconciles all three pieces: the standard, the roast-level adjustment, and the exception.
What temperature actually does to extraction
Water temperature is one of the four levers, alongside grind size, ratio, and contact time, that determines how much of the coffee actually dissolves into your cup. Breville’s guide states the mechanism plainly: water that runs too hot, above 205F, causes over-extraction, “pulling out harsh compounds that mask the beans’ subtle flavors” and leaving an overly strong, sometimes ashy cup. Water that runs too cold, under 195F, does the opposite: under-extraction, producing coffee that comes out “weak, sour, or watery” because too little of the coffee’s soluble material had the energy to dissolve in the time it was given.
That framing lines up with how this site’s own coffee to water ratio chart describes extraction more broadly: strength and extraction are separate variables, and temperature is one of the two or three biggest levers on the extraction side, alongside grind size and contact time. A correctly weighed dose brewed with water outside the 195 to 205F window can still taste wrong even if the ratio itself is exactly right, which is why this is worth treating as its own variable rather than an afterthought to grind size.
The standard range, and where it comes from
Breville’s guide cites the National Coffee Association directly: “the ideal water temperature for brewing coffee is between 195 to 205 degrees Fahrenheit for optimal coffee extraction.” Coffee Chronicler’s own FAQ lands on the identical figure, calling 195 to 205F the range for “ideal extraction.” Two guides, researched and published independently, converging on the same eight-degree window is about as settled as a brewing number gets on this site, and it matches the Celsius conversion, 90 to 96C, that already appears in this site’s own ratio chart page as the temperature band the SCA’s Golden Cup Standard was built around for batch drip specifically.
Inside that eight-degree window, though, is exactly where the two sourced guides stop repeating each other and start giving genuinely different practical advice, which is the more useful part of this page.
Adjust for roast level: the part most guides skip
Both sources independently make the same directional point: darker roasts need less heat than lighter ones. Breville explains why, tying it back to the roasting process itself: darker roasts “tend to extract flavors more easily and may require slightly lower brewing temperatures” than lighter roasts, since the bean has already broken down further inside the roaster and gives up its flavor compounds more readily. Coffee Chronicler is more specific about where that leaves each end of the spectrum: light roasts, harder to extract, do best with “water close to a boil,” while darker roasts extract easily enough that the same guide recommends dropping to “around 200°F/93°C or lower” to avoid pulling out the harsher, more bitter compounds that a dark roast already carries in abundance.
That is a genuinely useful adjustment, but it is also worth being honest about a small tension between the two sources. Breville’s own stated ceiling is 205F, while Coffee Chronicler’s “close to a boil” language for light roasts points toward the very top of that range or slightly past it, since a rolling boil at sea level is 212F. Read together rather than in isolation, the practical takeaway is a three-way split rather than one number: light roasts do best near the top of the standard range, right up against 205F; medium roasts sit comfortably in the middle, around 200F; and dark roasts do best toward the bottom, at 200F or a touch below.
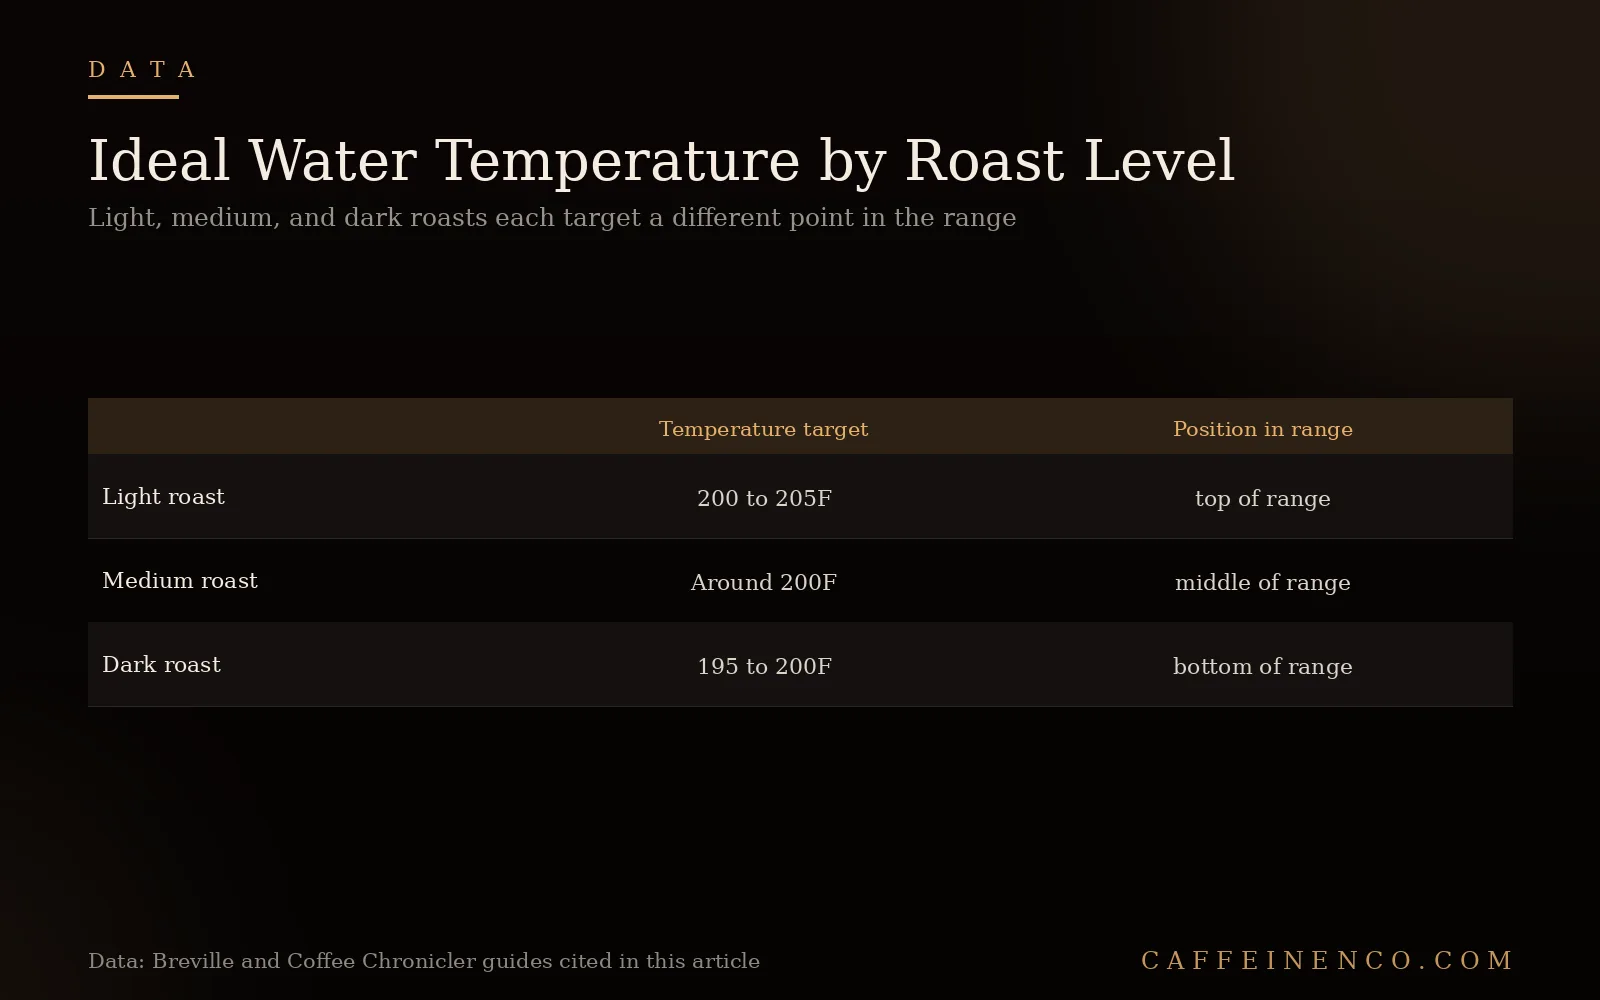
| Roast level | Temperature target | Why |
|---|---|---|
| Light roast | 200 to 205F (top of range) | Denser, less broken-down bean structure resists extraction; needs more thermal energy to dissolve fully |
| Medium roast | Around 200F (middle of range) | Balanced extraction difficulty; the range’s center point works without much adjustment |
| Dark roast | 195 to 200F (bottom of range) | Already broken down further in the roaster; extracts easily, and hotter water risks pulling out harsh, over-extracted compounds |
This is the same logic this site’s own roast level guide covers from the roasting side: a dark roast has already lost mass, gained porosity, and moved its sugars from caramelized toward the edge of char, so it gives up flavor to water faster than a light roast that stopped shortly after first crack still holding most of its density and acidity in reserve.
Temperature across different brew methods
The 195 to 205F window is stated as a general specialty-coffee standard rather than a method-specific one, but it shows up consistently across the specific methods this site has already covered in depth. This site’s Chemex guide cites both Bean Box and Equator Coffees landing on 200 to 205F for pour-over brewing, right in the middle to top of the standard range. Immersion methods like French press typically sit in the same window, since a longer contact time does not change the ideal starting temperature, only how long the water and grounds interact once combined. Cold brew is the one clear exception on this list, and it is exception by definition rather than by adjustment: cold brew uses no heated water at all, extracting over 12 to 24 hours at room temperature or in a refrigerator, which is also why it produces a lower-acid, different flavor profile than any hot-brewed method regardless of grind or ratio. Moka pot and espresso both push water through the grounds under pressure rather than by gravity, which changes contact time and extraction speed enough that neither is a clean fit for the same 195 to 205F guidance built around gravity-fed brewing, and this site’s method-specific guides are the better reference for those two.
The exception: when competition brewers go cooler
If the standard range were a hard rule, the World AeroPress Championship would be the place it broke first, and Coffee Chronicler’s reporting on the competition is exactly that data point. Winning recipes at the championship have used water “around 75 to 85°C, or 167 to 185°F,” a full 10 to 38 degrees below the standard’s own floor of 195F. That is not a fringe result from one outlier year; Coffee Chronicler frames it as a recurring pattern across winning recipes, even while noting that some winners, including the 2019 champion, still brewed inside the conventional range at roughly 197.6F. The lesson is not that the standard is wrong, since the vast majority of specialty guidance, including two independently sourced pages cited here, converges tightly on 195 to 205F for good reason. The lesson is that the standard is a strong, well-supported default rather than a law of physics, and that grind size, dose, steep time, and technique can shift the same cup in a direction that lets a skilled brewer compensate for water well outside the usual range and still win a world championship doing it.
How to actually hit your target temperature at home
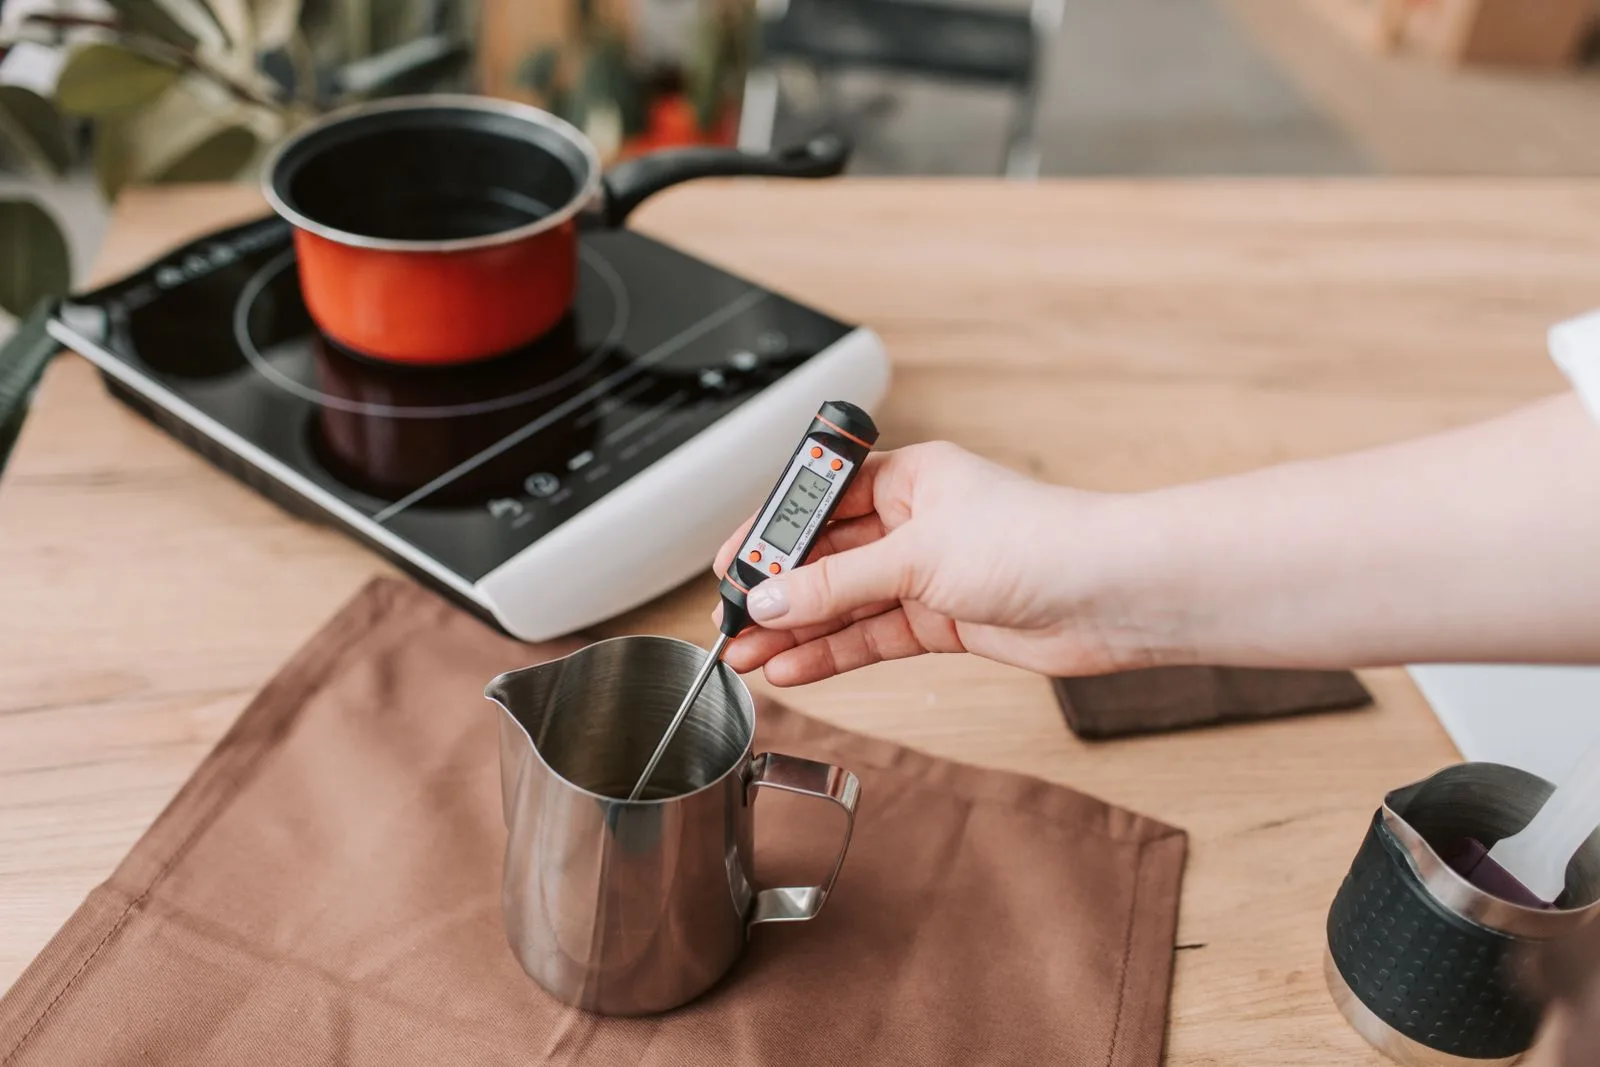
Few home kitchens have a lab thermometer sitting next to the kettle, so the practical question is how to land inside a specific number without one. This site’s own reporting on Chemex brewing and on diagnosing burnt coffee both point to the same shortcut: pulling a kettle off a full, rolling boil and letting it rest for 30 seconds drops the water to right around 200F, comfortably inside the standard range and close to the medium-roast target in the table above. Resting closer to 45 to 60 seconds pushes it a few degrees lower, toward the dark-roast end; pouring almost immediately off the boil keeps it closer to the light-roast end near 205F. None of this requires a stopwatch level of precision, but it does require knowing that “just off the boil” is not one temperature, it is a moving target that changes by several degrees every 15 to 20 seconds as the kettle sits.
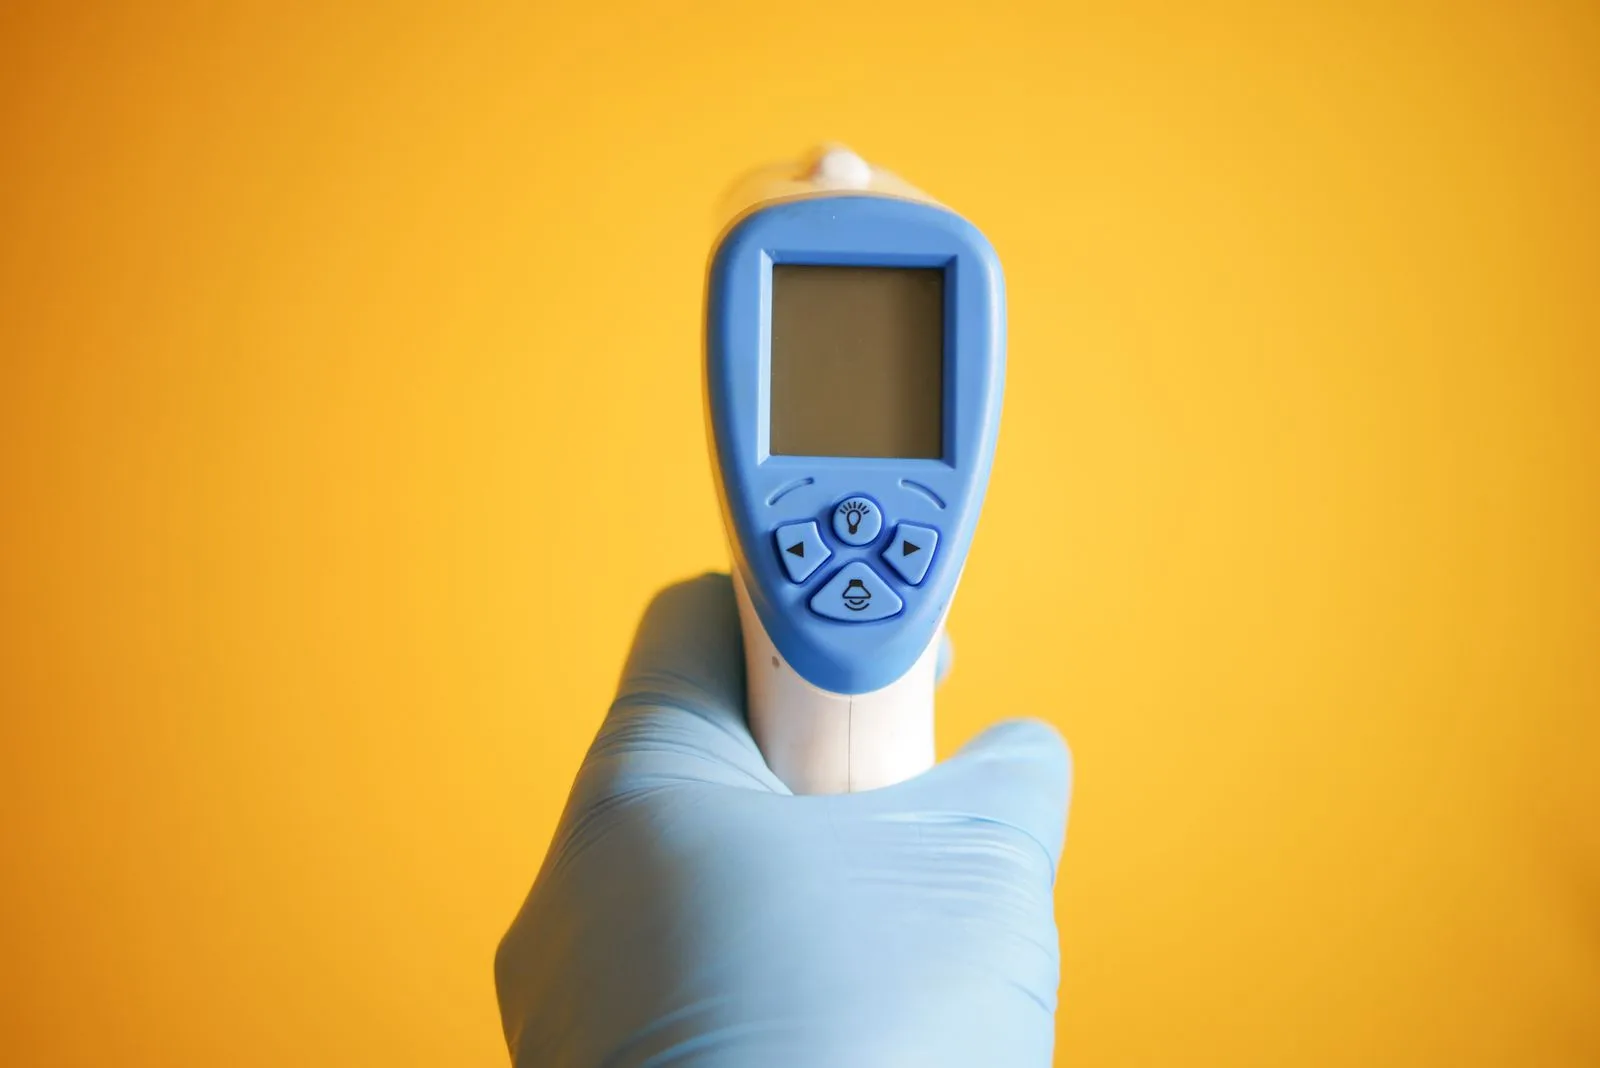
A variable-temperature gooseneck kettle removes the guesswork entirely by letting you set a target number directly rather than timing a rest period by feel, which matters most if you are trying to hit the tighter, roast-specific targets in the table above rather than just landing somewhere in the broad 195 to 205F window. For anyone brewing on a kettle without built-in temperature control, an instant-read kitchen thermometer costs a fraction as much and does the same job one cup at a time.
Worked example: dialing in temperature without a thermometer
Work through this the first time you brew a new bag, and you will know its target temperature for every cup afterward without needing to repeat the process.
- Check the bag for roast level. Light, medium, or dark should be printed directly on most specialty bags; if it is not stated, this site’s roast level guide describes how to judge it from bean color and surface oil instead.
- Bring water to a full, rolling boil, then remove it from the heat immediately.
- Time the rest period to match the roast. Pour almost immediately for a light roast (close to 205F), rest 30 seconds for a medium roast (close to 200F), or rest 45 to 60 seconds for a dark roast (closer to 195F).
- Brew as you normally would, keeping grind size, ratio, and contact time identical to your last cup so temperature is the only variable that changed.
- Taste against your last cup of the same bag. A cup that tastes noticeably less sour or thin than before points toward the higher end of the range being the better fit for that bean; a cup that tastes less bitter or harsh points toward the lower end.
Common mistakes
Treating 195 to 205F as a single number rather than a range is the most common one, since both sourced guides here agree the window itself is real, but neither treats it as one fixed temperature that fits every roast equally. Pouring straight off a rolling boil for every bag regardless of roast level is the second, since that habit sends light roasts close to the correct target while consistently over-shooting dark roasts, which is a large part of why a dark roast bag brewed by “eyeballing steam” so often tastes harsh. Ignoring temperature entirely while troubleshooting a bad cup is the third: this site’s guides to sour coffee and burnt coffee both name water temperature as one of the first variables to check, alongside grind size, precisely because it is invisible without a thermometer and easy to assume is fine when it is not.
Common questions
What is the ideal water temperature for brewing coffee? Between 195 and 205 degrees Fahrenheit, per the National Coffee Association as cited by Breville and independently confirmed by Coffee Chronicler. Inside that range, lighter roasts do best near the top, around 200 to 205F, and darker roasts do best near the bottom, around 195 to 200F.
What happens if my water is too hot? Water above 205F over-extracts the coffee, pulling harsh, bitter compounds out of the grounds that a properly brewed cup would leave behind, and can leave a scorched or ashy edge similar to what this site’s burnt coffee guide describes.
What happens if my water is too cold? Water below 195F does not carry enough thermal energy to fully dissolve the coffee’s sugars and heavier compounds, leaving a weak, thin, sour cup, the same under-extraction mechanism covered in this site’s sour coffee guide.
Do I need a thermometer to hit the right temperature? Not strictly. Resting a kettle off a full boil for roughly 30 seconds lands water close to 200F, in the middle of the standard range, without any equipment beyond the kettle itself. A thermometer or a variable-temperature kettle only becomes worth the cost if you want to hit the tighter, roast-specific targets consistently rather than the broad window.
Does water temperature matter for cold brew? No, and that is the point. Cold brew uses no heated water at all, extracting over many hours at room or refrigerator temperature instead, which is also the main reason it tastes different from any hot-brewed method regardless of grind size or ratio.
Is 195 to 205F a hard rule? No. It is a strong, well-supported default backed by two independently published guides and the National Coffee Association, but it is not universal: winning recipes at the World AeroPress Championship have used water as cool as 167 to 185F, well below the standard’s floor, showing that grind, dose, and technique can shift a well-made cup outside the usual range.
Once your water temperature is dialed in, the two other variables worth checking are grind size and ratio. This site’s grind size chart covers the correct particle size for every brew method, and the coffee to water ratio chart covers dose by method and batch size. For espresso specifically, where pressure changes the extraction math entirely, this site’s extraction speed guide is the better reference than the gravity-fed guidance on this page. For more sourced brewing data like this, delivered weekly, subscribe to The Sunday Pour.