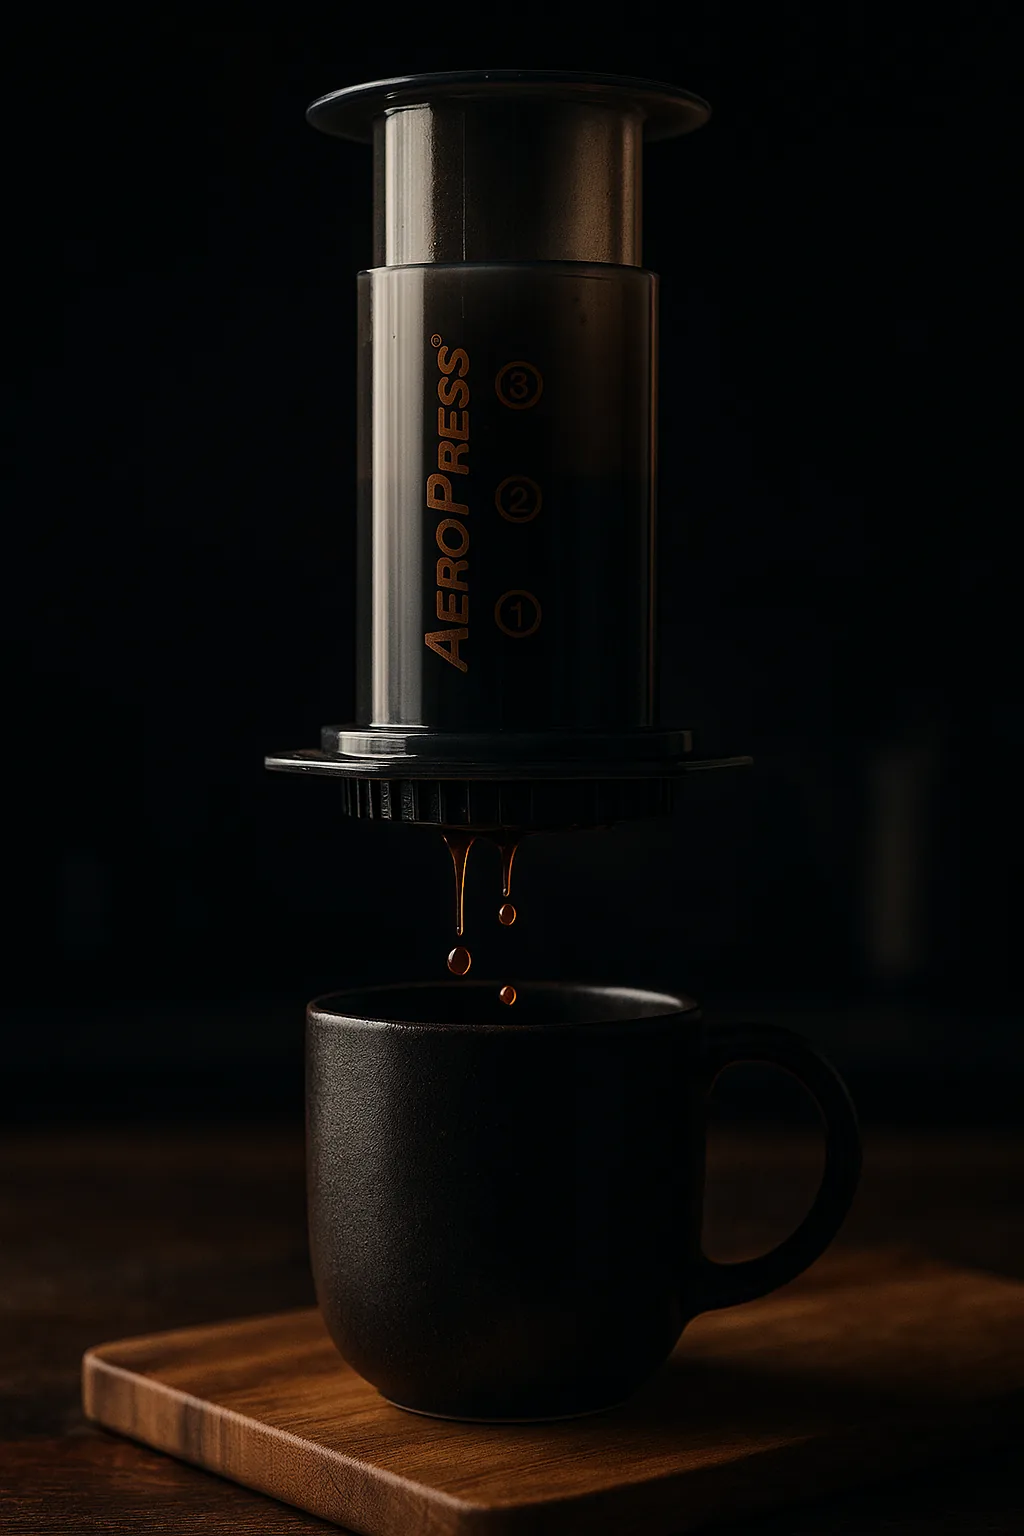
Ask five people for “the” AeroPress ratio and you’ll get five different answers, and unlike most brewing disagreements, none of them are wrong. A V60 has a working range because pour over is basically one method with small variations. The AeroPress isn’t one method. It’s a small pressure driven brewer that gets used three genuinely different ways, and the ratio that’s correct for one of them would be undrinkable in another. Sort out which mode you’re actually running first, and the ratio question mostly answers itself.
Why one ratio doesn’t work here
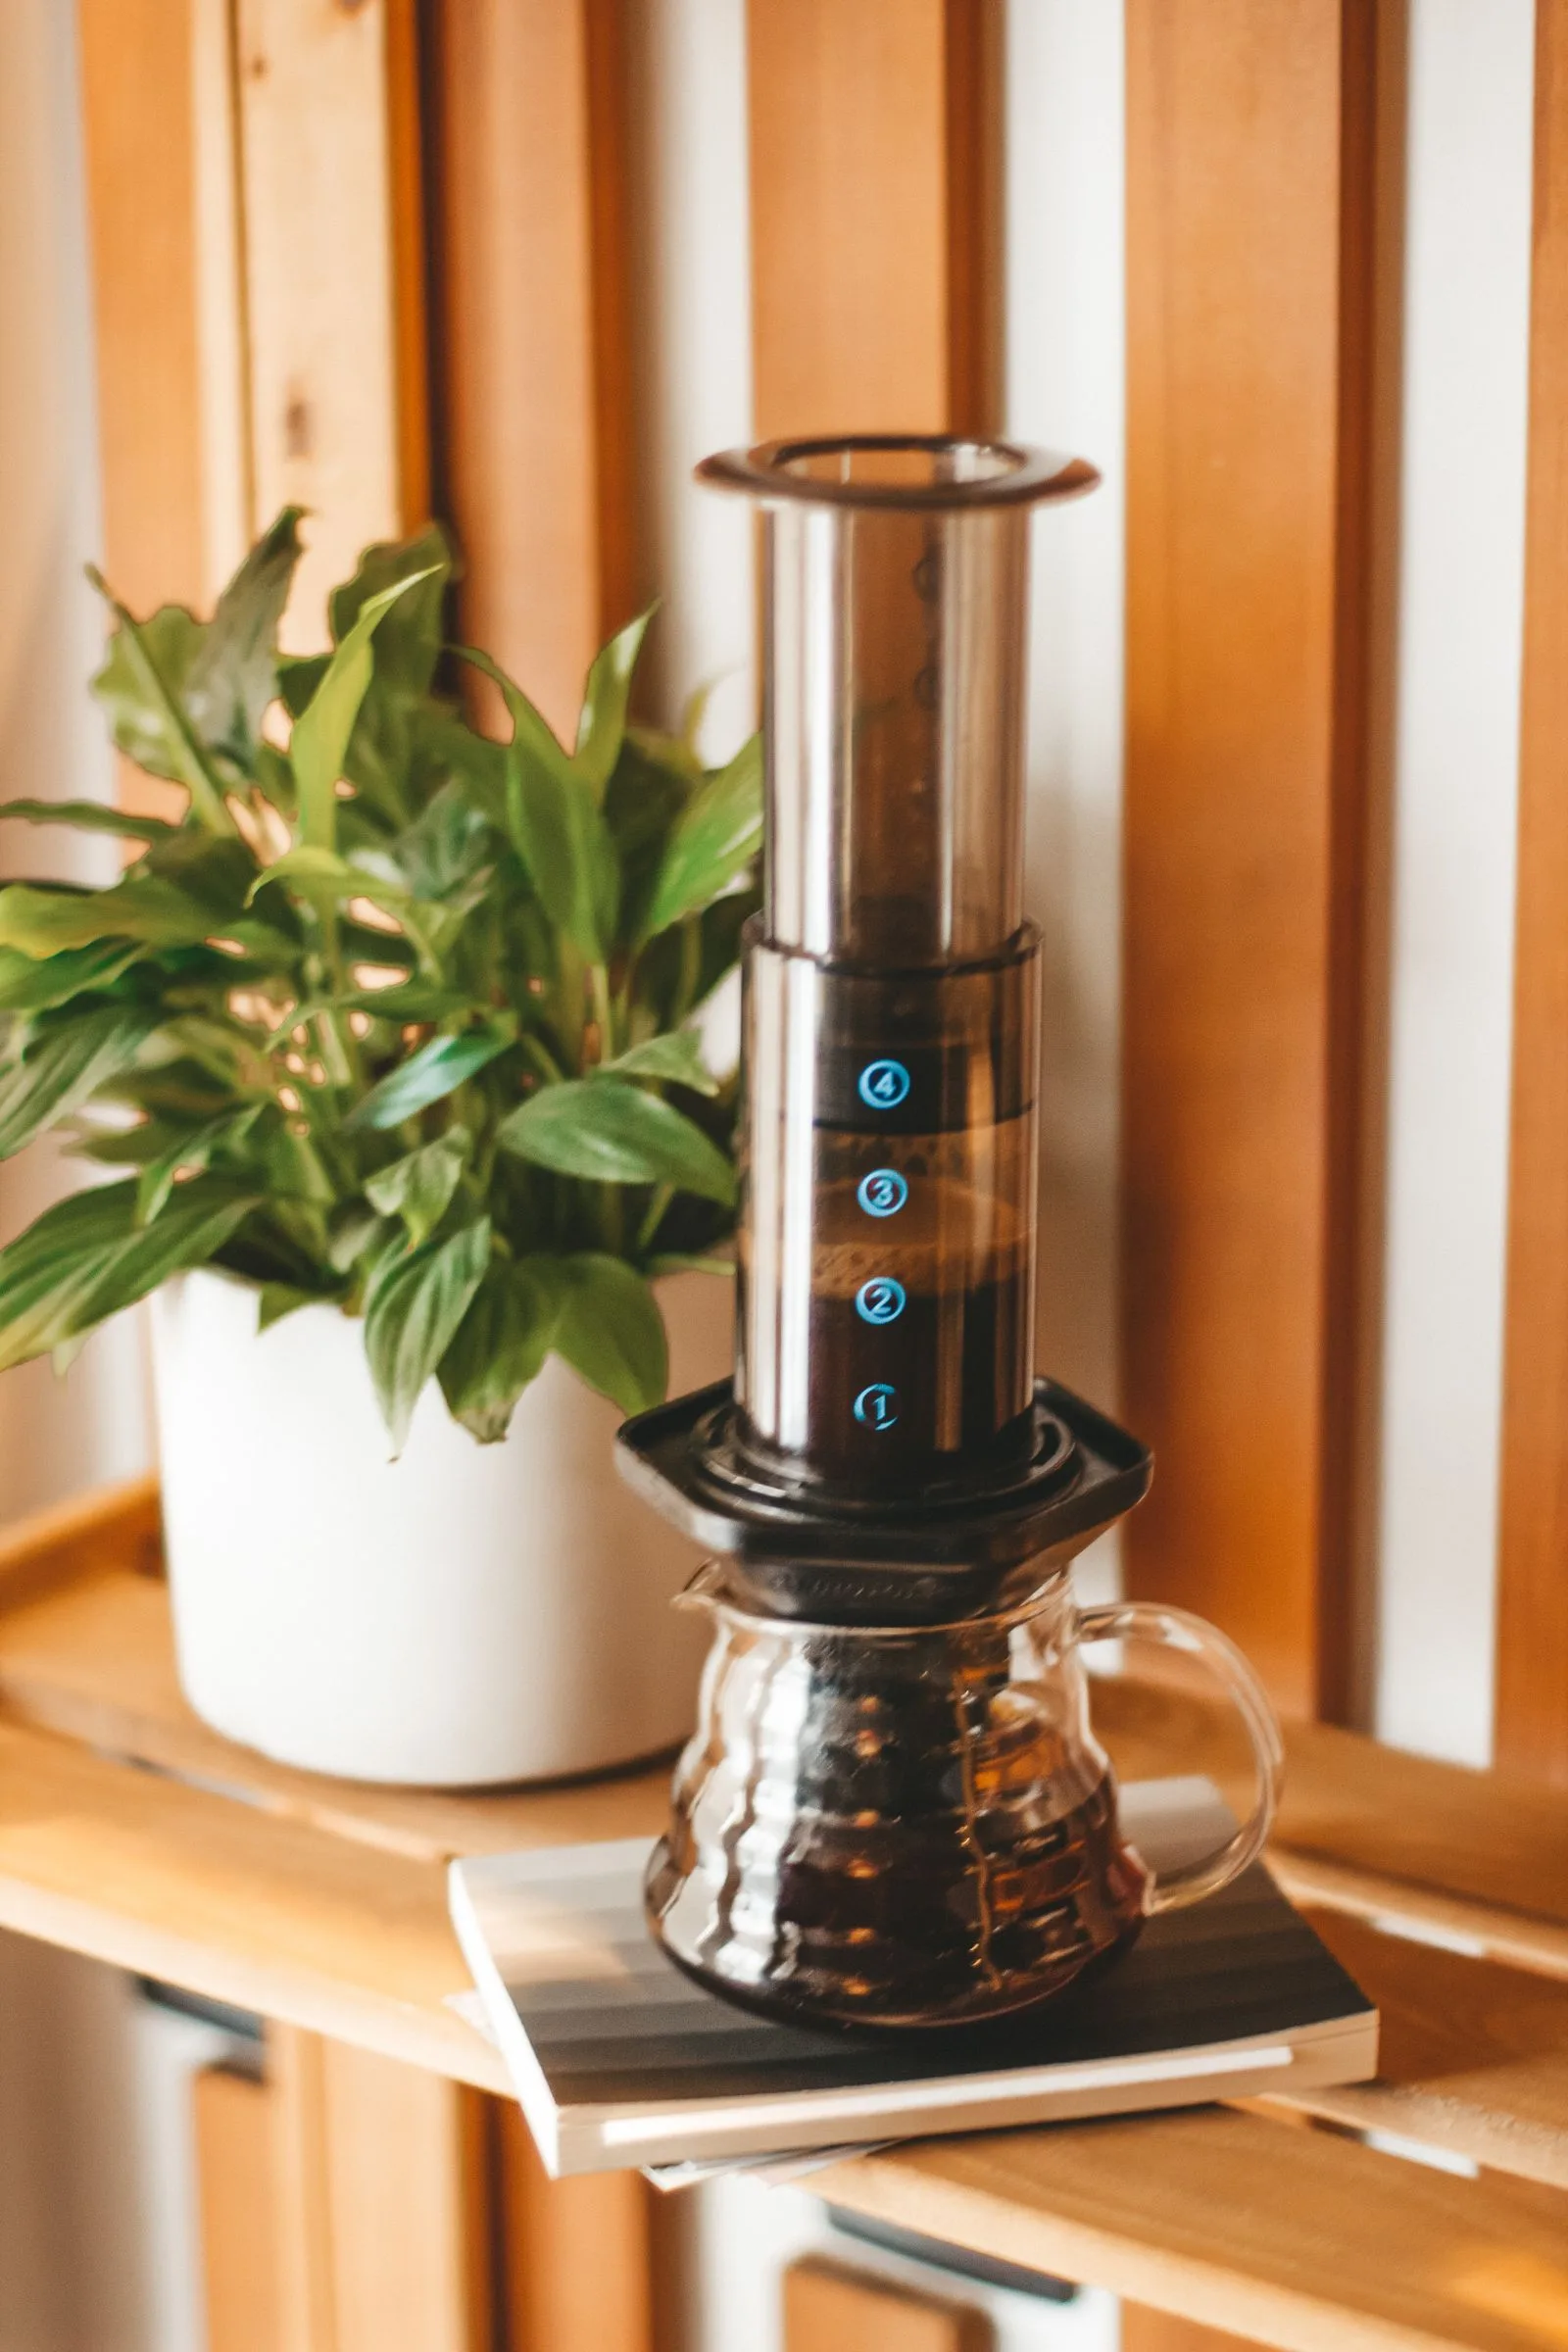
The AeroPress’s inventor, Alan Adler, designed it around a concentrate: a small amount of water forced through a lot of coffee under hand pressure, drunk as is or topped up with hot water like an Americano. That’s mode one, and it sits at a genuinely espresso adjacent ratio.
Mode two showed up as the AeroPress got adopted by specialty coffee: brew it more like a small immersion pot, with far more water in the chamber relative to the coffee, and drink the result straight, no dilution. James Hoffmann’s widely watched recipe is the clearest example of this approach, and it lands closer to a light pour over in strength than to Adler’s original.
Mode three is competition brewing. Flip the AeroPress upside down before you add coffee and water, and the plunger seals the bottom so nothing drips through while you steep. World AeroPress Championship competitors lean on this to hold a strong, precisely timed slurry, then often dilute it with a separate splash of water (called “bypass” water) measured out after pressing rather than before.
Three different jobs, three different ratios. None of them are the AeroPress being used wrong.
Ratios for each mode, in grams and in scoops
The AeroPress ships with a plastic scoop, and its own site states a level scoop holds about 11.5g of coffee while a heaping, rounded scoop holds roughly 14 to 15g. The chamber also carries printed numbers, each one marking a roughly 60ml (2oz) step, so “fill to 2” is a real, repeatable instruction even without a scale. Here’s what each mode actually uses, stated both ways since a scale isn’t always on the counter.
| Mode | Coffee | Water | Ratio | Scoop marking |
|---|---|---|---|---|
| Concentrate, Adler original | 1 heaping scoop (about 15g) | To the 1 to 1.5 line (about 60 to 90ml) | Roughly 1:4 to 1:6 | Fill to “1” |
| Concentrate, diluted to Americano | Same 15g dose | Concentrate above, then top up with 150 to 200ml hot water | Roughly 1:12 to 1:16 once diluted | Concentrate to “1”, then top the mug |
| Full immersion, drink as is | 11 to 17g | 200 to 225g | Roughly 1:13 to 1:18 | Fill to “3.5” to “4” |
| Inverted, competition style | 18g (the near universal competition dose) | 100 to 135g brew water, plus 50 to 90g bypass water added after pressing | About 1:6 to 1:7.5 while brewing, landing near 1:8 to 1:11 once diluted | Fill to roughly “2” |
Where recipes disagree inside a mode, they’re usually optimising for different things. Adler’s tight 1:4 concentrate is optimising for a fast, forceful press that tolerates a rough grind. Hoffmann’s 1:18 is optimising for a clean, low intensity cup brewed with very little coffee, using near boiling water to make up for how dilute it is. The competition ratios sit in the middle because competitors are optimising for judged sweetness and clarity inside a strict, timed routine, not for a cup you’d drink a full mug of at that strength.
Grind size, steep time, and the mechanical tradeoff
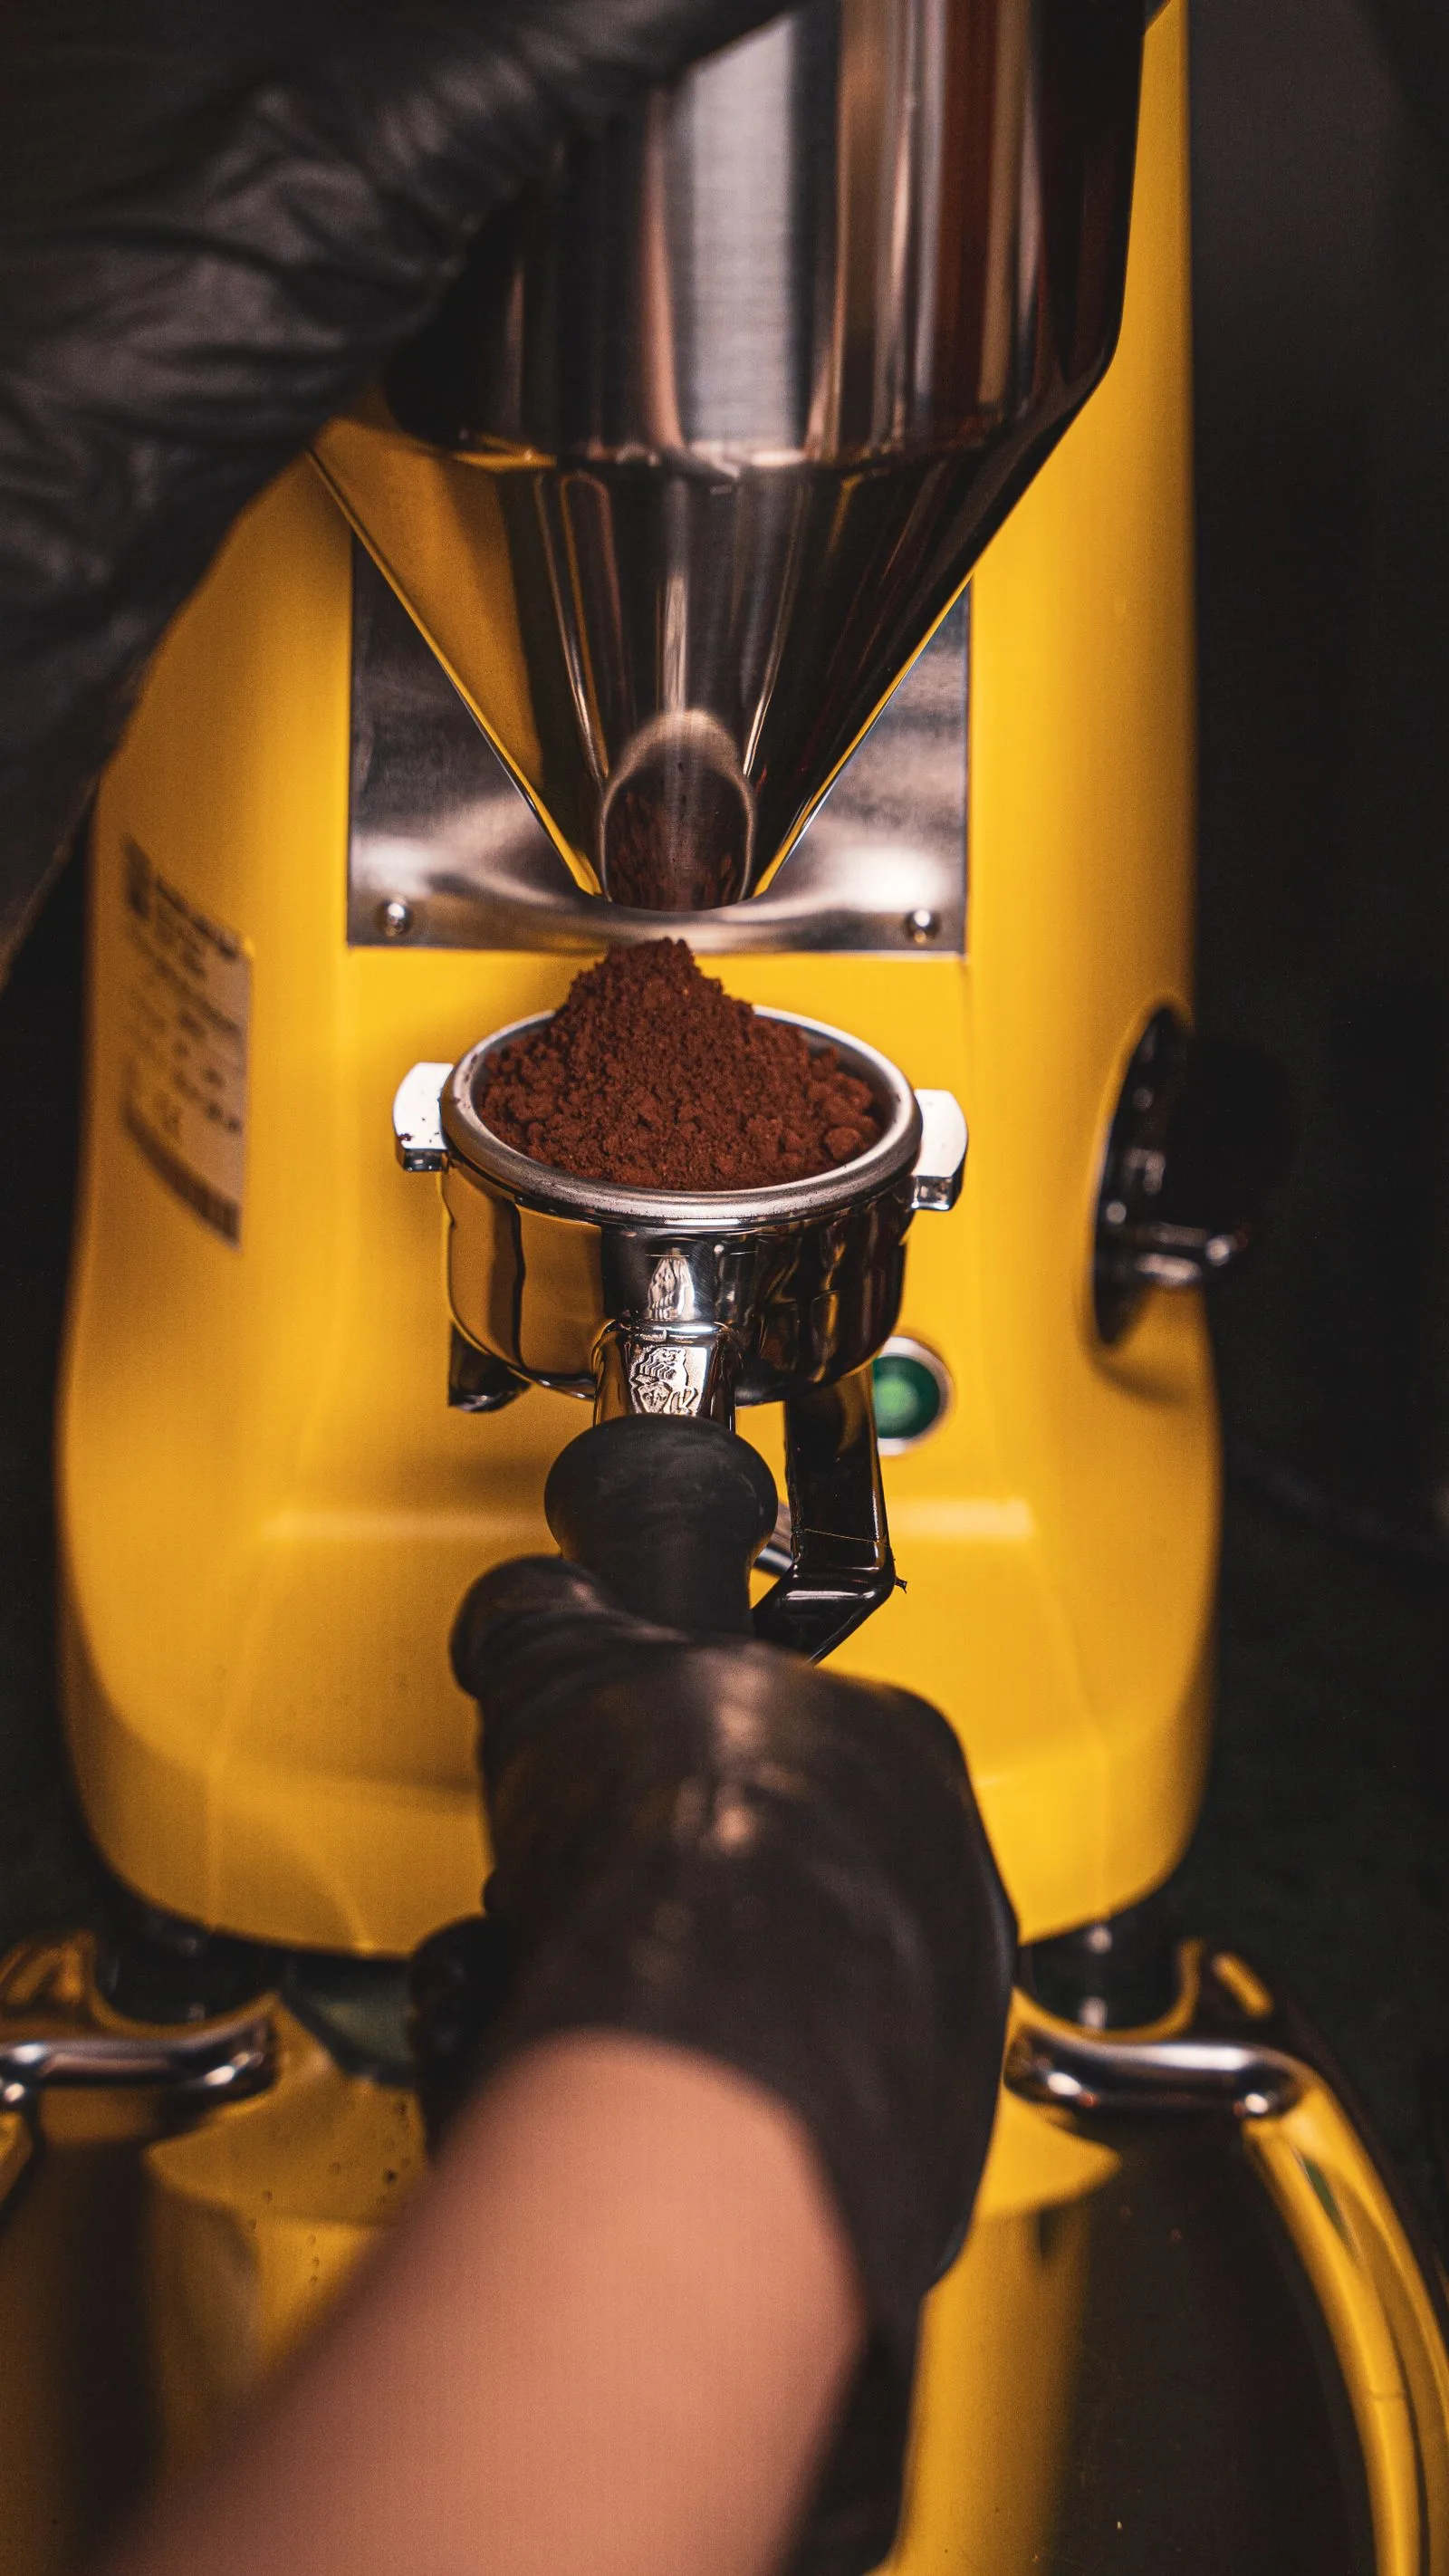
Grind size and plunger pressure are linked mechanically, not just by convention. A finer grind packs more tightly against the filter and presents more resistance to water trying to pass through it. That resistance is exactly what makes a fine grind good for a fast concentrate: with only 60 to 90ml of water and a 20 to 40 second steep, you need water forced through the bed rather than gently draining through it, so Adler’s original calls for a fine, almost espresso like grind and a firm, deliberate press.
Full immersion and inverted modes flip that logic. Once the coffee has had one and a half to two and a half minutes of full contact with the water, most of the extraction that’s going to happen already has. At that point the plunger’s job stops being extraction and becomes separation: pushing spent grounds down and out of the liquid you’re about to drink. Pressing hard at that stage doesn’t extract more, it mostly risks forcing fine particles past the filter or triggering an uneven, spurting press where water finds a low resistance channel through the puck and blasts through it. That’s why Hoffmann presses gently over about 30 seconds rather than forcing it, and why the same principle that governs a french press plunge (it separates, it doesn’t extract) applies here too, as covered in our french press cleaning guide.
Practical grind guidance by mode: fine, near espresso, for the Adler concentrate; medium fine, close to table salt, for full immersion drunk straight; and fine to medium fine for inverted competition recipes, which can afford a finer grind than the upright method because there’s no early drip through to overshoot while you’re still steeping. If a press feels genuinely stuck rather than firmly resistant, that’s usually the grind, not your arm strength.
Water temperature, including the lower temperature approach
AeroPress’s own guidance splits by roast: about 80°C (175°F) for dark roast, 85°C (185°F) for medium and light. That’s noticeably cooler than a typical pour over. Hoffmann’s recipe goes the opposite direction, pouring at 99°C, close to boiling, but his recipe is also using very little coffee against a lot of water in a short contact time, so it needs more thermal energy per gram to extract fully before the two minute mark.
The lower temperature approach shows up most in inverted competition recipes, where champions have brewed anywhere from 78°C to 92°C. The logic is that a thick slurry (18g of coffee against as little as 100g of water) combined with a long, controlled steep and a fine grind is already primed for fast, aggressive extraction. Hot water on top of that combination pulls out harsh and bitter compounds disproportionately fast. Dropping the temperature slows the chemistry down without shortening the steep, giving more control over the same time window rather than less coffee overall. As a rule of thumb: the finer the grind and the longer the steep, the more a lower temperature earns its place, and dark roasts benefit from it most since their surface compounds are already more soluble and prone to tasting ashy when pushed too hard.
Does the inverted method earn the fuss?
Mechanically, inversion solves one specific problem. In the standard, right side up orientation, the filter cap is already attached at the bottom while you steep, and gravity pulls water through the bed continuously from the moment you pour, however slowly. That means part of your dose has effectively had a slightly longer, less controlled contact time than the number on your timer suggests. Flip the AeroPress over first, seal the bottom with the plunger, and nothing drips through until you choose to flip and press. The full charge of water sits static with the grounds for exactly as long as you decide.
Whether that’s worth the extra handling depends on what you’re brewing. For a quick, medium fine grind and a one to two minute steep, the amount that drips through in standard orientation is small enough that most people won’t taste the difference, and standard is simpler and lower risk to pour without spilling. Inversion earns its place specifically when you’re combining a fine grind with a longer steep, which is exactly the competition combination, because that’s where uncontrolled early drip through would matter most. For most home brewing at moderate ratios, it’s a control upgrade, not a flavour revolution.
Paper filter or metal filter
Paper strips out oils and blocks almost all fine particles, giving a cleaner, brighter cup that shows off a coffee’s more delicate or fruity notes, which is why most published recipes, including Hoffmann’s, default to it. Metal mesh lets oils and some fines through, adding body and a heavier mouthfeel at the cost of muting some of those finer distinctions between coffees. Neither is a mistake: reach for metal when you want the AeroPress to punch above its size and produce something closer to a small, rich shot, and reach for paper when the coffee itself is the point and you want it read clearly.
Fix it: symptom to cause
| Symptom | Likely cause | Fix |
|---|---|---|
| Plunger feels genuinely stuck, not just resistant | Grind too fine for your steep time and dose | Coarsen the grind slightly, or extend the steep before pressing |
| Coffee tastes weak or watery | Ratio too dilute for the mode you’re running | Check your dose and water against the table above and adjust one variable at a time |
| Sour, thin, underdeveloped | Extraction cut short: cool water, coarse grind, or short steep | Grind finer, raise the temperature, or add 15 to 30 seconds of steep time |
| Bitter, harsh, or ashy, especially with dark roast | Over extraction: water too hot or grind too fine for the steep | Grind slightly coarser, drop the temperature, or shorten the steep |
| Gurgling or spurting near the end of the press | Air pocket or channel forming through the puck under late pressure | Stop pressing as soon as you hear the hiss; don’t force the last of the puck |
| Gritty sediment even with a paper filter | Filter not fully seated, or not rinsed before brewing | Reseat the filter cap fully and rinse the paper filter with hot water first |
Where to go from here
The ratio table above is a starting range, not a rulebook. Weigh your dose and water once with a scale against a mode’s numbers, taste the result, and move one variable, grind, ratio, or temperature, at a time from there. If you want to check how a given dose stacks up against your daily caffeine intake, our caffeine calculator breaks that down by drink and serving size. For the short version of this guide with the at a glance numbers, see the AeroPress brew guide. And if slow pour over drainage or muddy immersion coffee is the more immediate problem in your kitchen, we’ve covered both: why your pour over stalls and why french press turns muddy.
For more brewing fixes like this one, delivered weekly, subscribe to The Sunday Pour.